Cocora Valley Hike: The Best Planning Guide (2023)
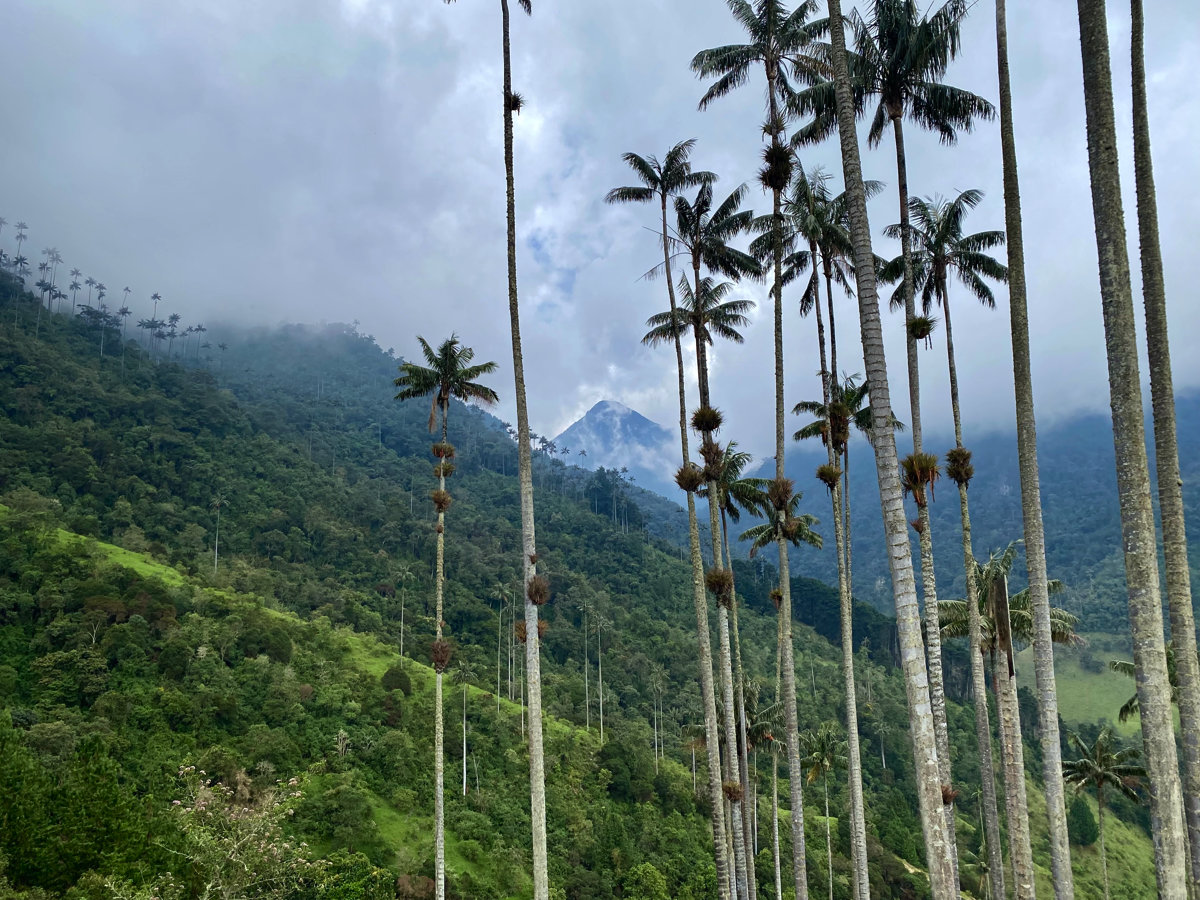
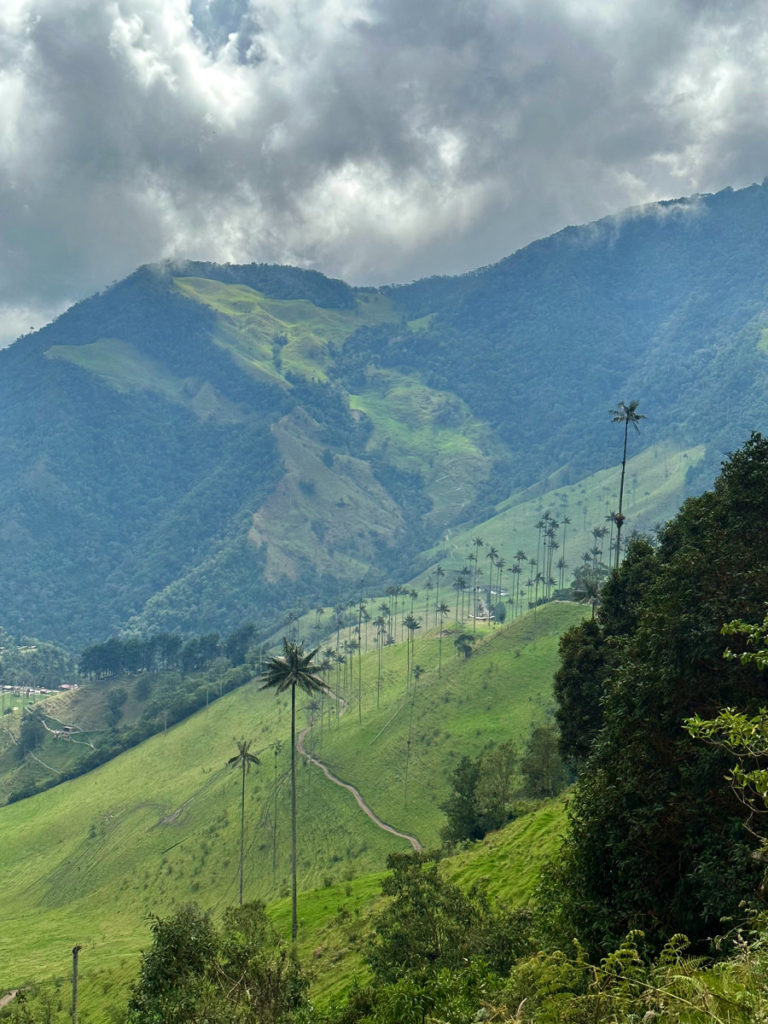
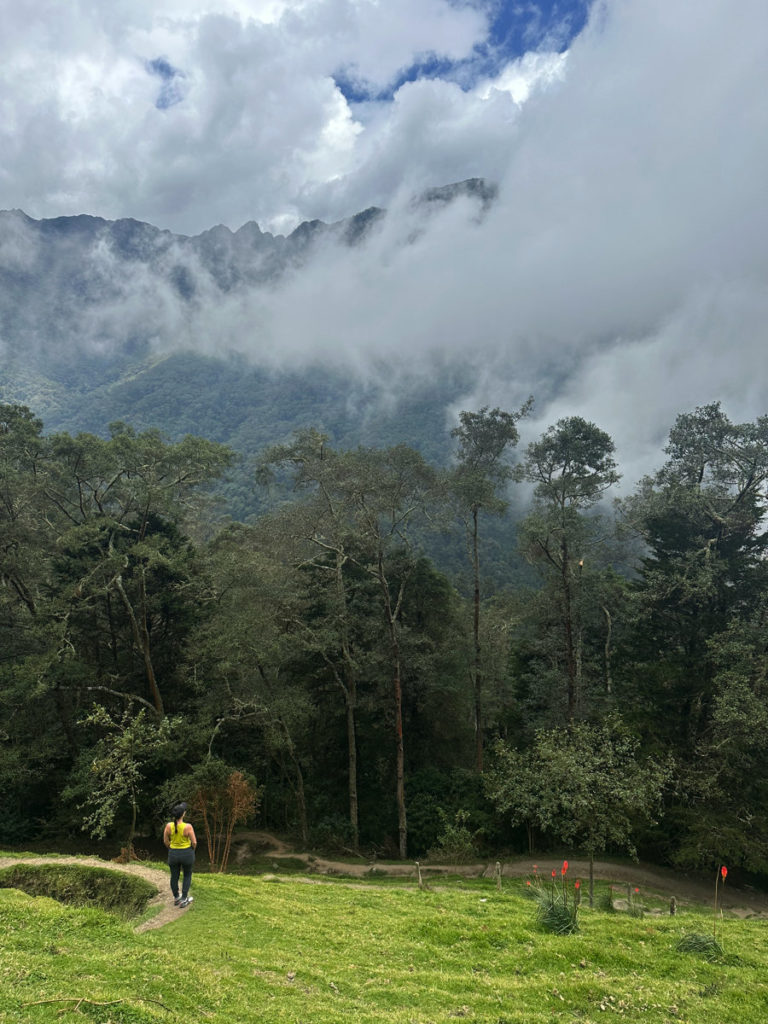
The Valle del Cocora (Cocora Valley) in Colombia is home to the towering wax palms, the tallest palm trees in the world, standing as tall as 200 feet (60 meters)! They are a magnificent sight to see, along with other breathtaking vistas along the famed Cocora Valley hike as the trail meanders through jungle, cloud forest (high elevation rain forest), valley, and farmland.
This ultimate Cocora Valley hike guide details how to get to Cocora Valley, recommended timing of departure from Salento, a step-by-step trail route with pictures to ensure you don’t get lost, tips for the hike and how to prepare, a comparison of boxed lunch options, accommodation recommendations in Salento, 8 other things to do while you’re in Salento, and critical travel tips regarding Colombia bus transportation.
Now, there are three ways you can hike the Cocora Valley to admire the wax palm trees: the clockwise loop, the counter-clockwise loop, and an out-and-back hike.
This guide covers the counter-clockwise loop as this is the route we took and the route I recommend. Taking the Cocora Valley hike counter-clockwise provides a more challenging route and saves the impressive miradors, or viewpoints, of Cerro Morrogacho (Morrogacho Mountain) and the wax palms for the end of the hike. The ultimate wow factor!
If you choose to hike Cocora Valley clockwise, you’ll see the selfie park and wax palms at the start of your hike. The three benefits of hiking in this direction are: the elevation gain is more gradual, and therefore easier; the miradors, or viewpoints, and selfie structures will likely be less crowded first thing in the morning; and the weather *may* be clearer in the morning.

However, after passing through the palm grove and admiring the vista of Morrogacho Mountain soon after, the rest of the hike along the Cocora Valley trail will probably feel rather boring and anticlimactic.
If you choose to hike the loop clockwise, use the step-by-step trail guide below in reverse order. You’ll need to be extra vigilant, as things will look different from the opposite direction.
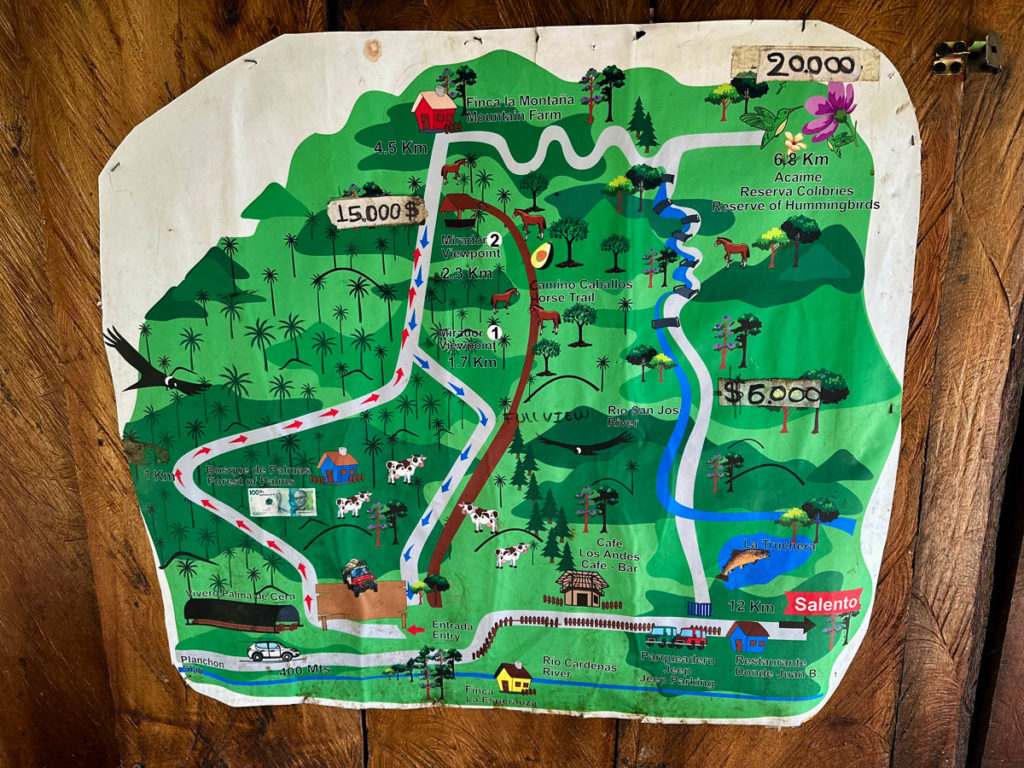
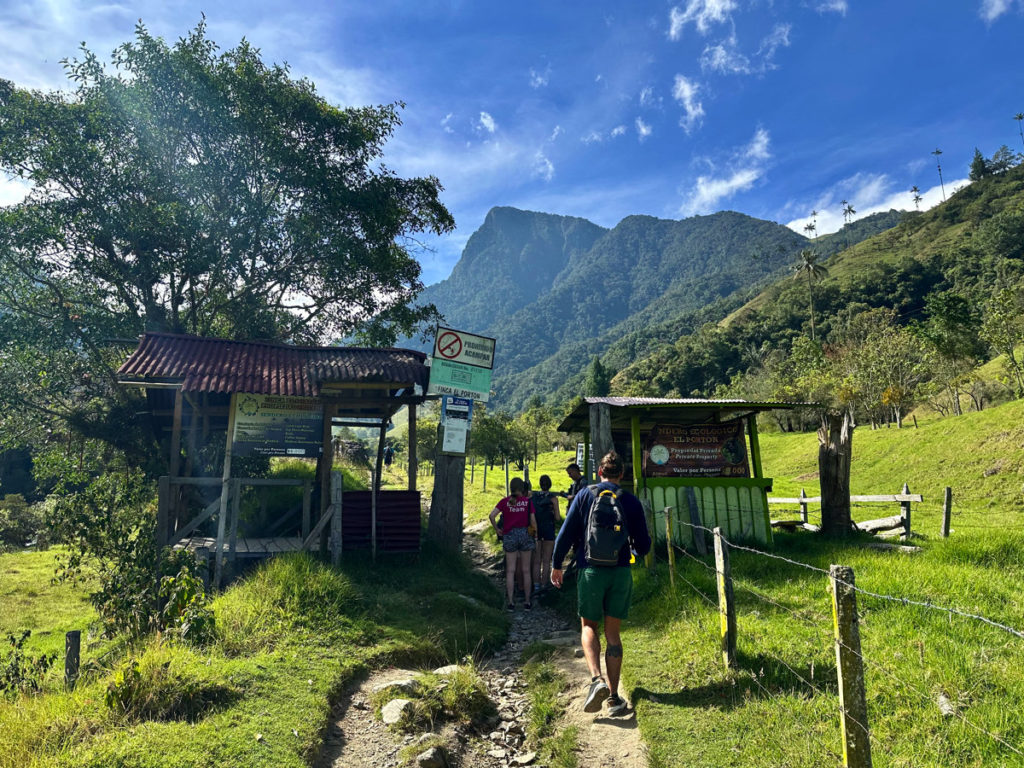
Note: If hiking Cocora Valley clockwise, you’ll pay your 15,000 COP at the entrance to the selfie park and miradors, or viewpoints (pictured above), which is at the beginning of the clockwise hike.
Additionally, some people opt for a much shorter route, entering through the selfie park (clockwise trailhead), hiking to the first and second viewpoints (Miradors I and II), and turning around, retracing their steps. This route only requires the 15,000 COP entrance fee (in 2023) and could easily be completed in an hour or hour and a half including photos. However, if you have the time and fitness level, I highly recommend you do the full hike.

Cocora Valley Hike Quick Facts
- Location of Trailhead: Cocora Valley; 25 minutes from the town of Salento, Colombia (Quindío province)
- Distance: Approximately 7.4 miles (12 km) including the detour to Acaime Hummingbird House, based on my best interpretation of limited, poor data (otherwise, the distance should be approximately 6.2 miles (10 km))
- Elevation Gain: >2,000 ft (>600 m)
- Difficulty: Challenging when hiked in the counter-clockwise direction
- Trail type: Loop
- Time To Hike: 4 to 6 hours depending on route chosen, fitness level, as well as number and length of stops
- Cost (2023): 15,000 + 6,000 COP ($5.30 USD) per person
- Facilities At The Trailhead: There’s a restroom with two stalls for 1,000 COP (25 cents). I highly recommend you empty your bladder before hitting the trail, even if there’s a line since bathroom options along the trail are limited and may be closed. There are also a few shops and restaurants near the trailhead.
- Things To Note: The trail is not well signed and many people get lost. We did NOT get lost and this is the exact route we took. If there have not been any changes to the trail and you follow this guide exactly, you will also not get lost.
How To Get To The Cocora Valley, Colombia
Most people who visit the Cocora Valley stay in the nearby charmingly colorful town of Salento in the Quindío province of Colombia, approximately 25 minutes away from the wax palms. And, most visitors to Salento arrive by bus, although some fly into nearby Pereira. If you’re planning to arrive to or depart from Salento by bus, be sure to read the sections at the end of the post about bus travel.
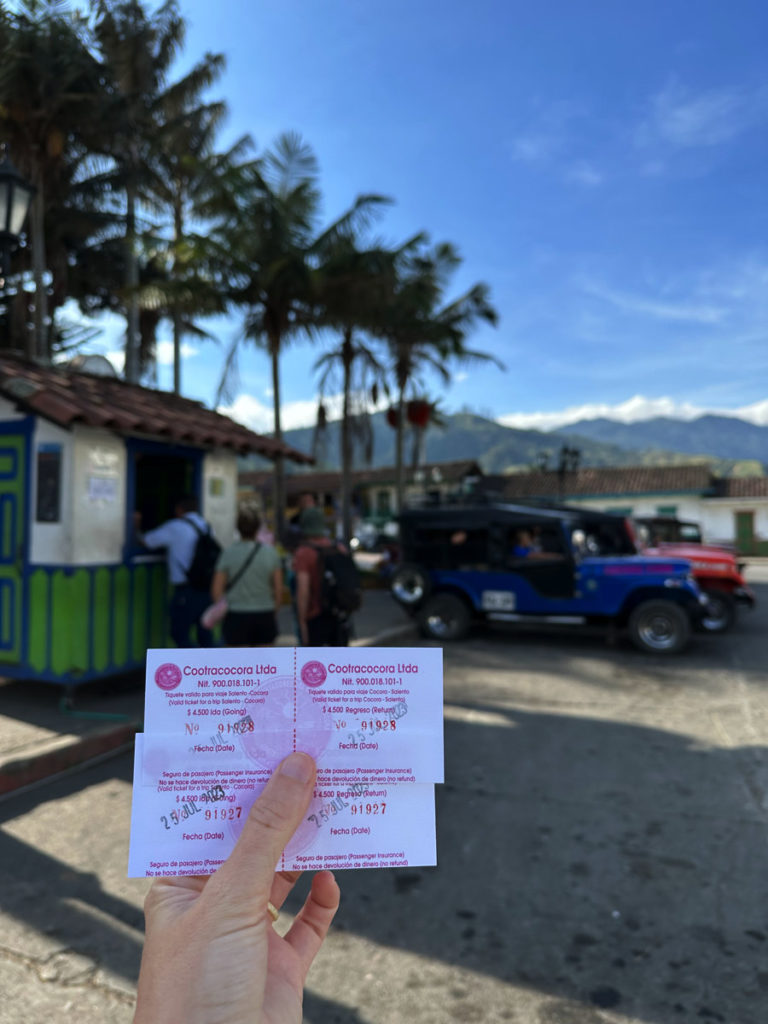
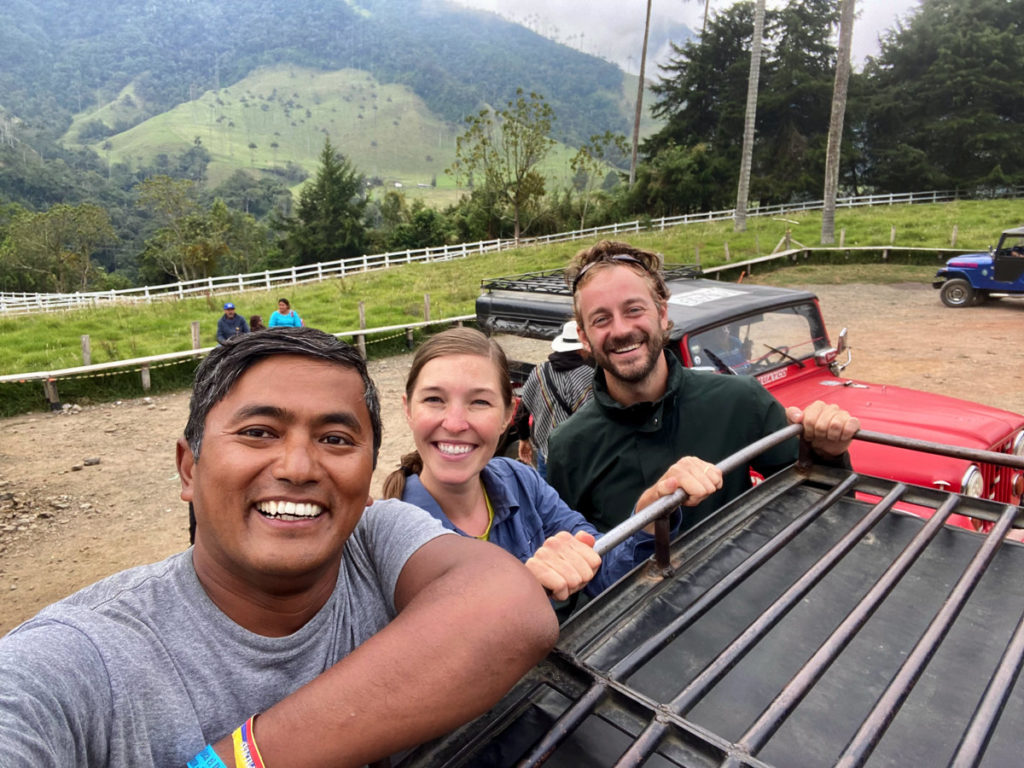
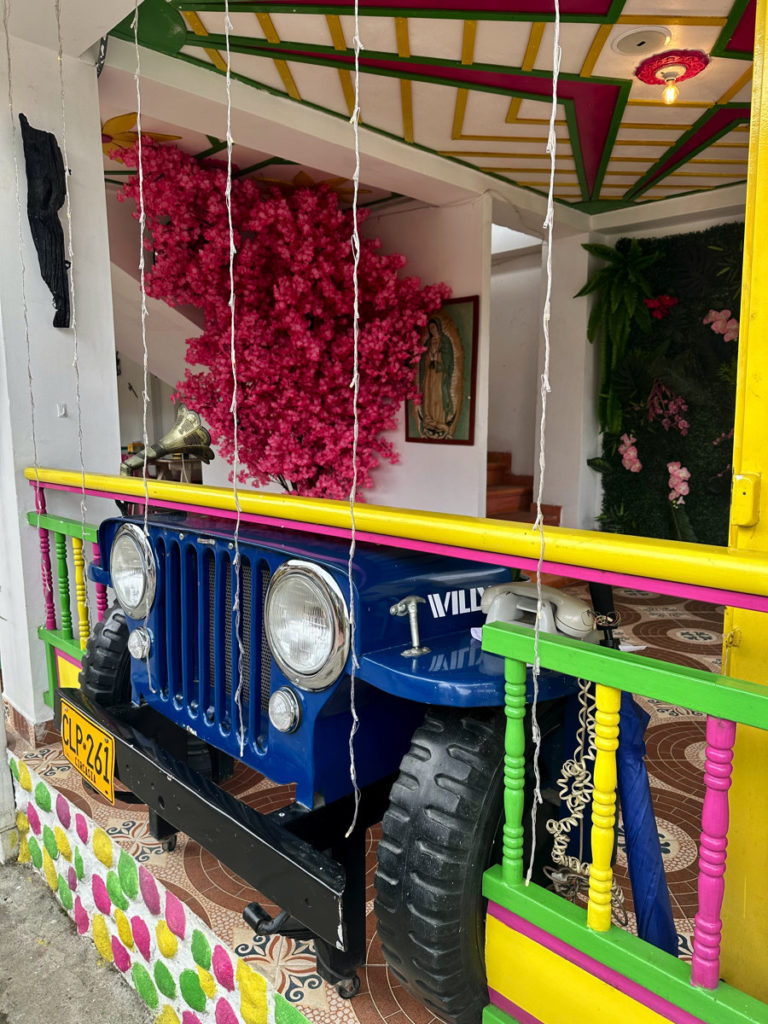
The best way to get to Cocora Valley from Salento is by a Willys, or jeep, which is a colectivo form of transportation for the town. The Willys line up along the southwestern side of Plaza de Bolivar, the main square in Salento, opposite the cathedral. There’s a small kiosk where you can purchase your Willys ticket.
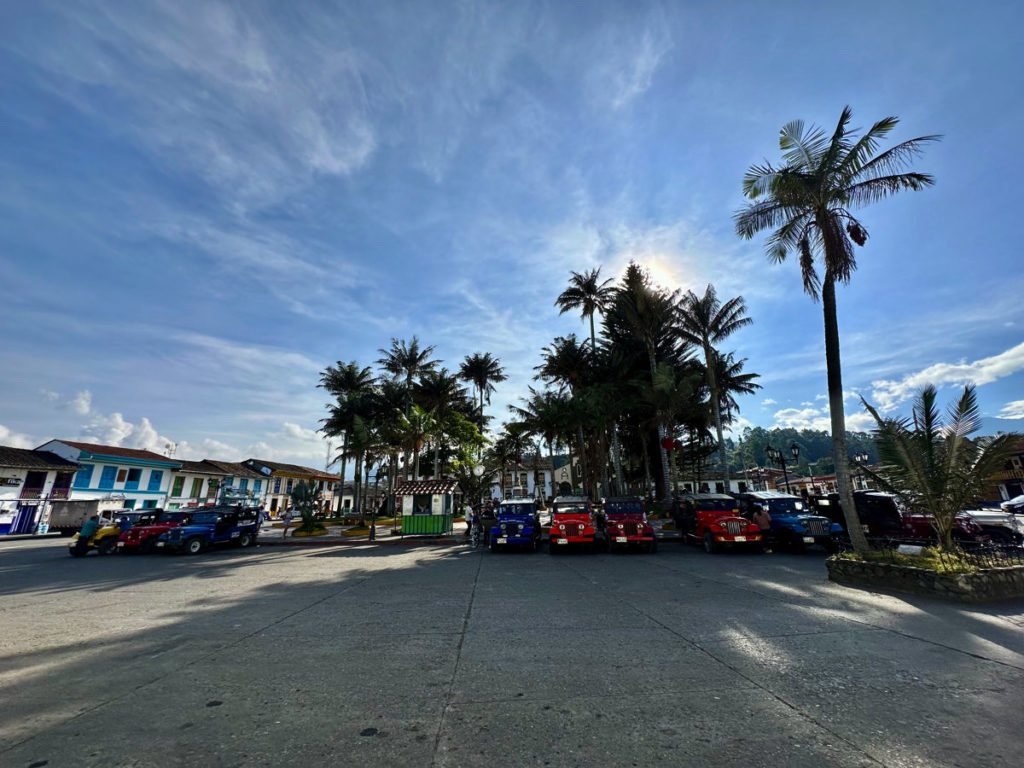
In 2023, the cost of a roundtrip Willys ticket (Salento<>Cocora Valley) was 9,000 COP (USD 2.29) for one person.
The Willys depart Salento from 6:30 AM – 5:30 PM (subject to change and may vary by season, so be sure to verify at the kiosk in advance). According to the schedule below, it makes it seem like the Willys only leave on the half hour every hour.
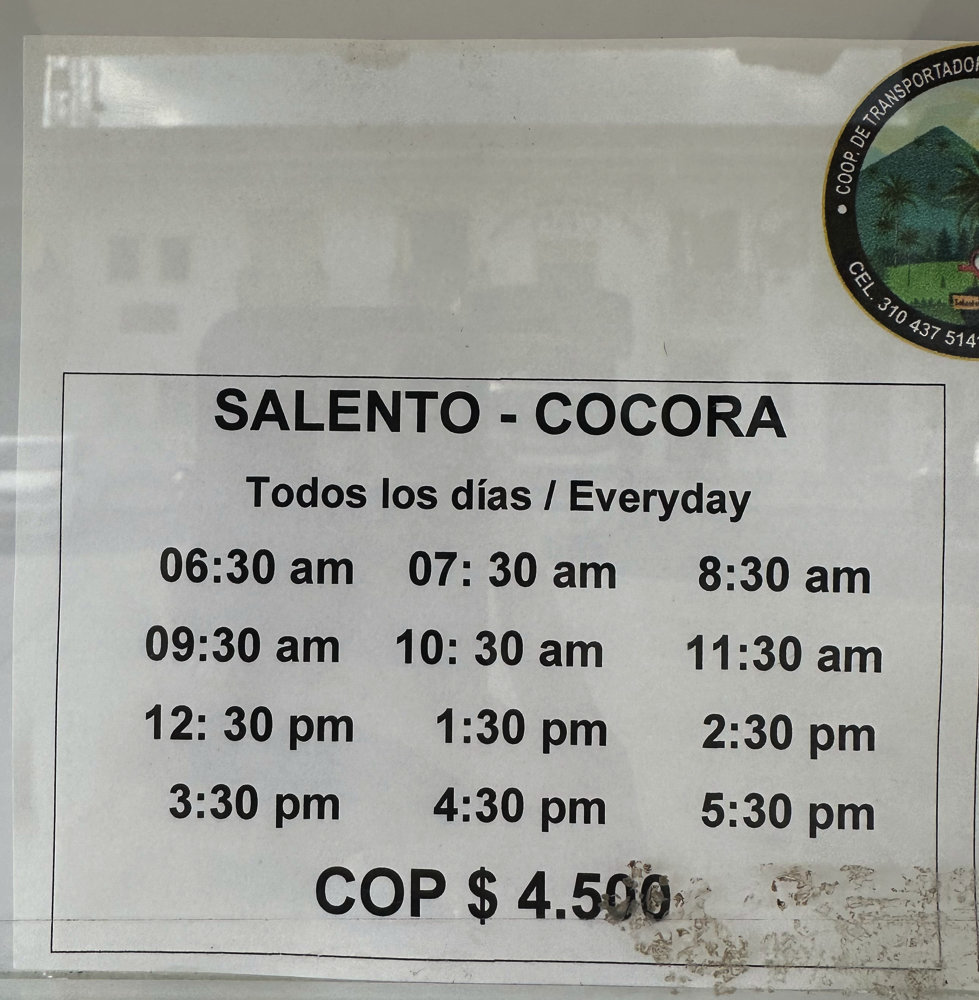
However, in our experience, the Willys left one at a time, as soon as they were fully loaded with as many people as they could squeeze onto the two long bench seats and the back bumper (approximately 15 total), bringing new meaning to standing-room-only!
Tip: To avoid long lines and wait times, plan to arrive at the plaza by 8 AM or earlier.
We arrived at the plaza at 8:02 AM and I purchased our tickets by 8:05 AM while my husband went to pick up our pre-ordered packed lunches from Betatown. I got in the “Willys line”, but since it was early, the line moved quickly and I had to let people go ahead of me since my husband wasn’t back yet.
As soon as my husband returned, we were instantly crammed into a Willy by 8:20 AM, with 4 people standing on the back bumper for the ride.
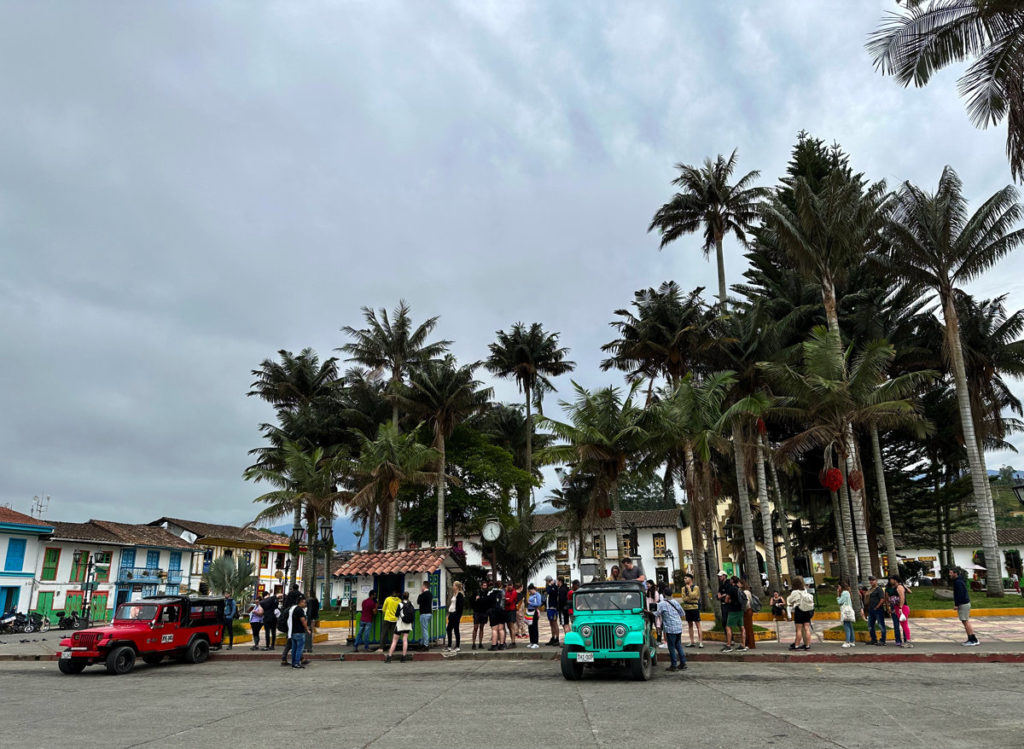
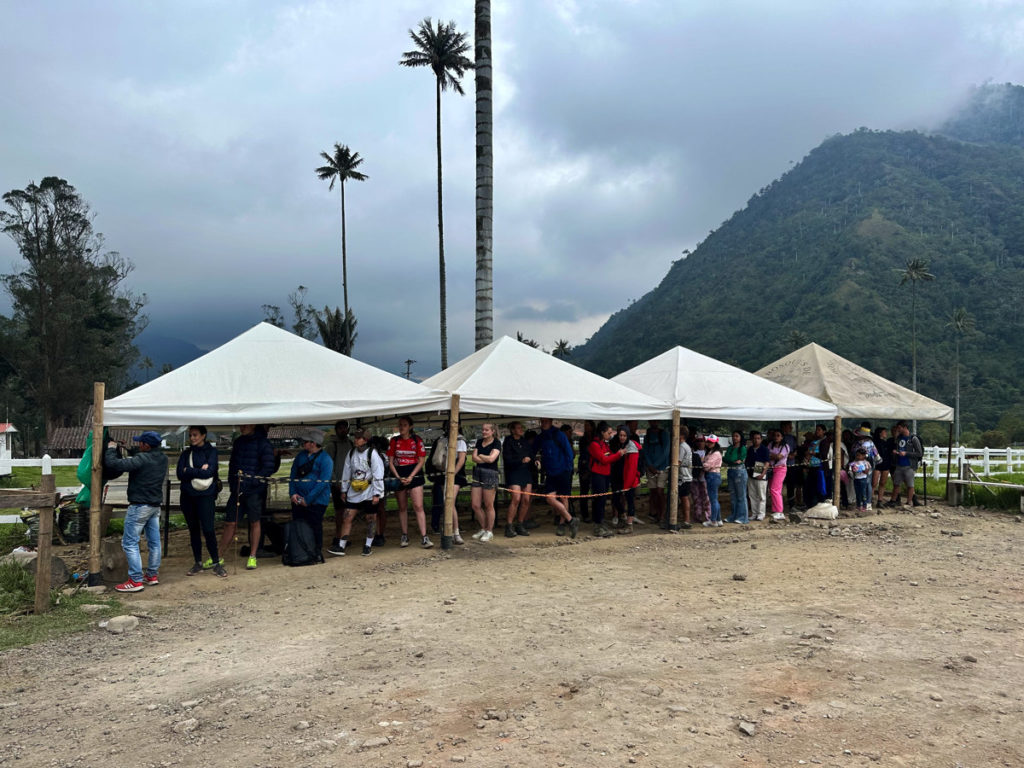
See the stark contrast below in Willys availability and crowds at 8:50 AM with less than one one-hour difference in departure time.
The Willys drop off at a small gravel parking lot in the Cocora Valley near the counter-clockwise trailhead (blue gate).
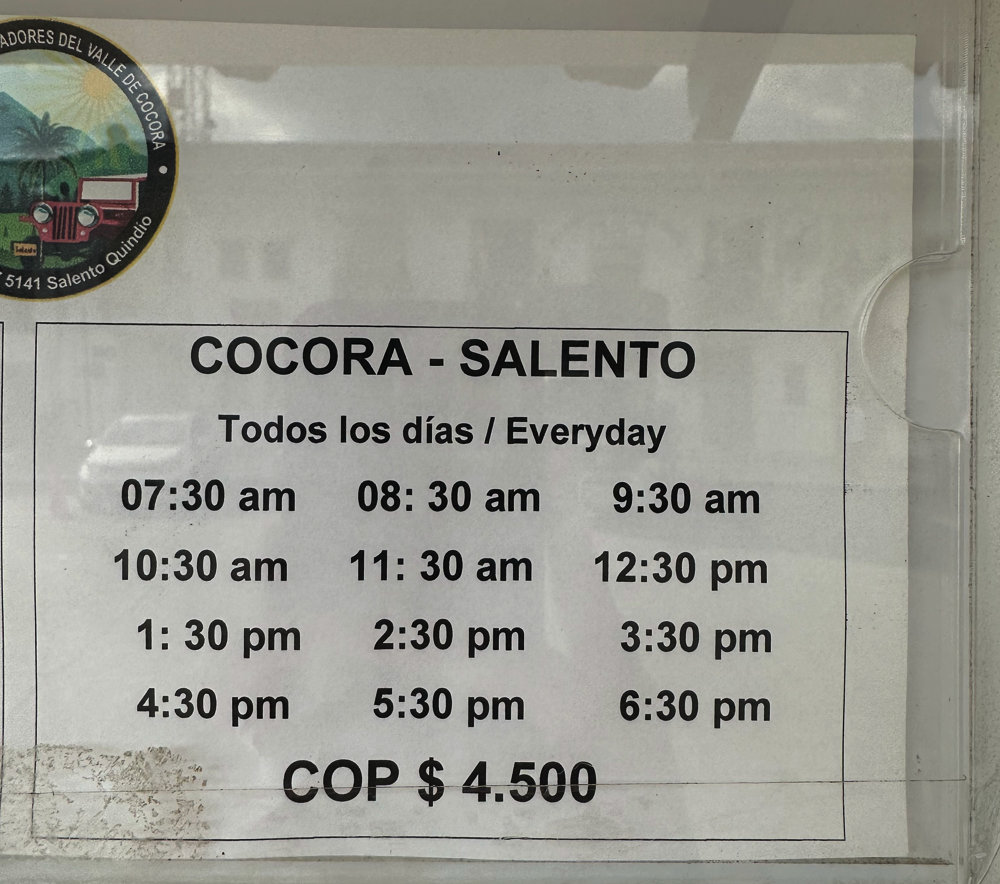
The last Willy back from Cocora Valley to Salento is at 6:30 PM. Arrive back to the gravel “Willy lot” near the trailhead well in advance of this time, as there’s often a long line to return to Salento in the afternoon.
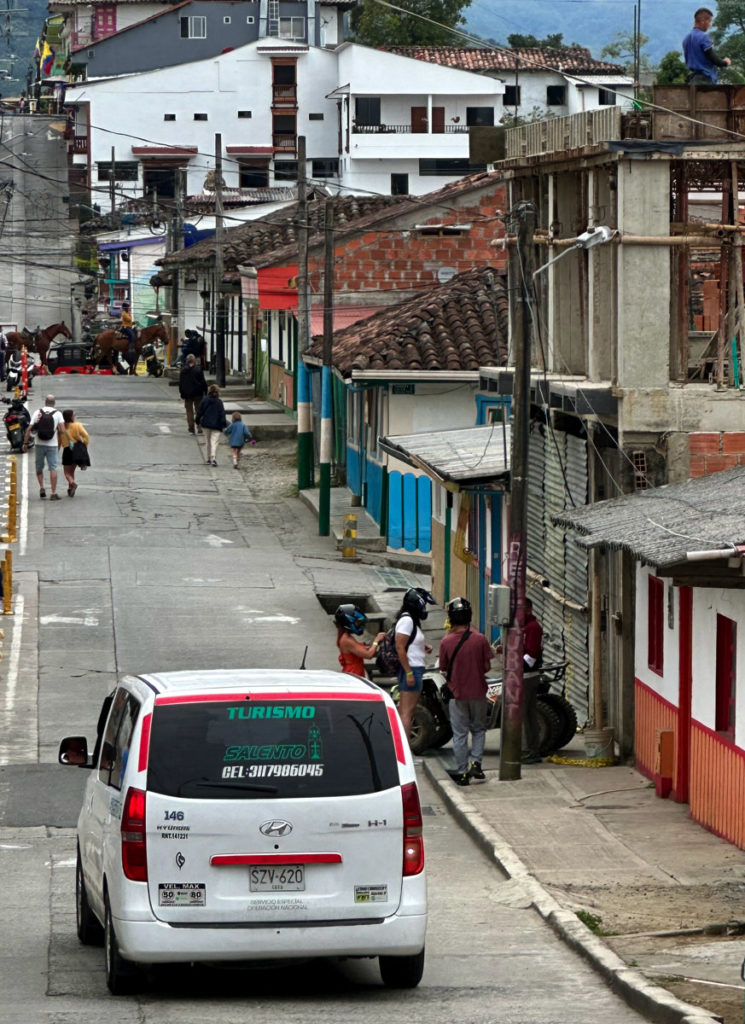
Note: There are a handful of white vehicles that can also be hired as private transport around the area. Surely, these will be costlier than a Willys ride. However, if you have a group who’s willing to split the cost especially if the Willys line is really long, it may be worthwhile. One of the vans I managed to notice had the name “Turismo Salento” with a phone number of +57 3117986045.
Cocora Valley Trail: Counter-clockwise Route Step-by-step
Getting lost while hiking in the Cocora Valley seems to be a common occurrence, so I’ve prepared this detailed route with step-by-step instructions and pictures to help make sure you don’t get lost.
Note: We did not take the detour to the Acaime Hummingbird House, and some hikers’ reviews on AllTrails note that they got lost when returning from Acaime to reconnect with the main trail. Additionally, many people cite the inaccuracy of the trail map on AllTrails and recommend against using it.
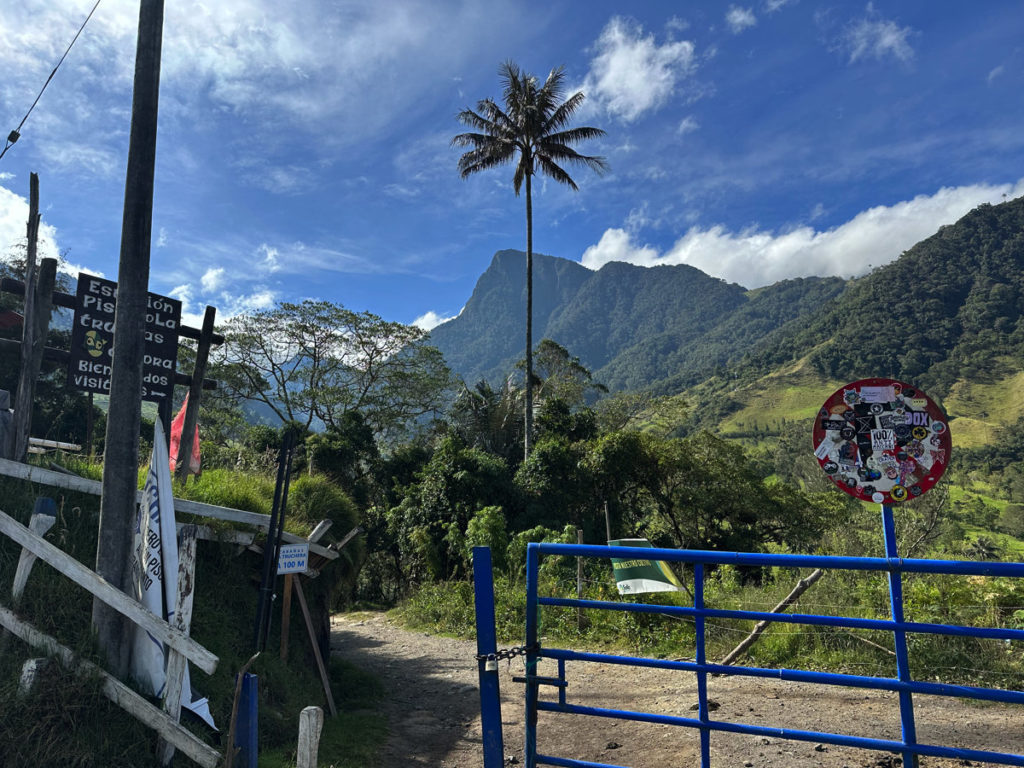
1. Enter at the blue gate on the right across the street from where the Willys drops you off. You should see an “Estación PiscícoLa Truchas Cocora” sign or a “Truchas Cocora” sign (meaning Cocora Trout) next to the blue gate.
2. You’ll see the trout farm down to your right through a chainlink fence.
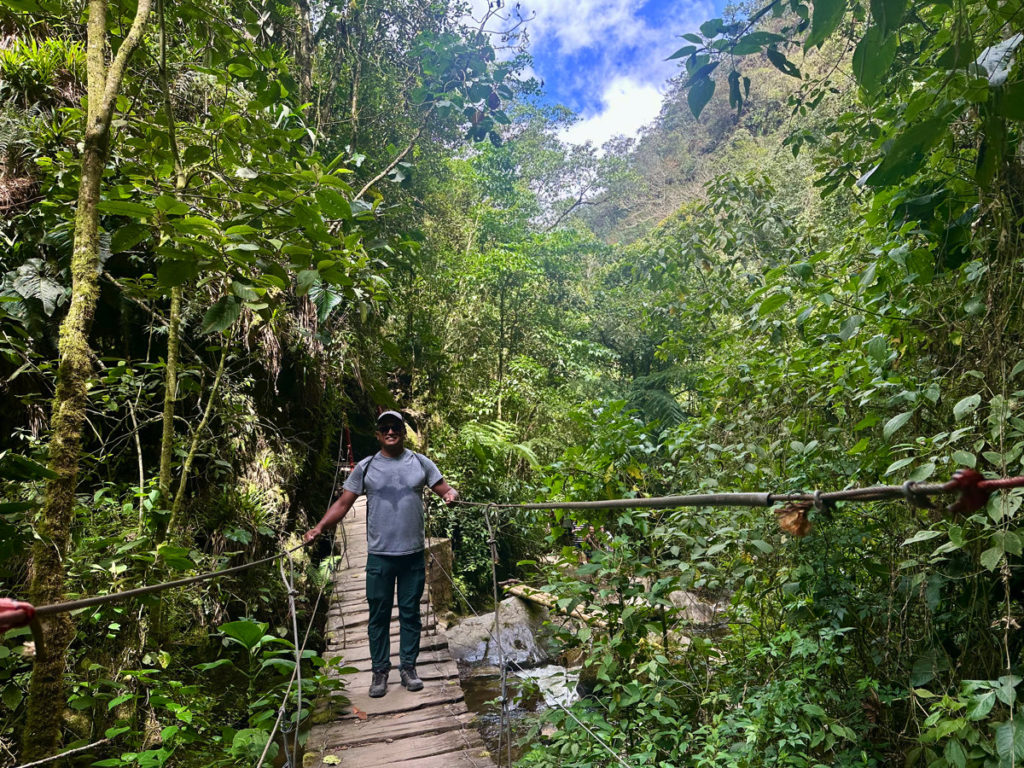
3. Cross bridge #1. Note: The suspension bridges are rickety and missing wooden slats in some areas. Be especially careful with hand and foot placement when crossing (my husband cut his hand on a sharp piece of metal).
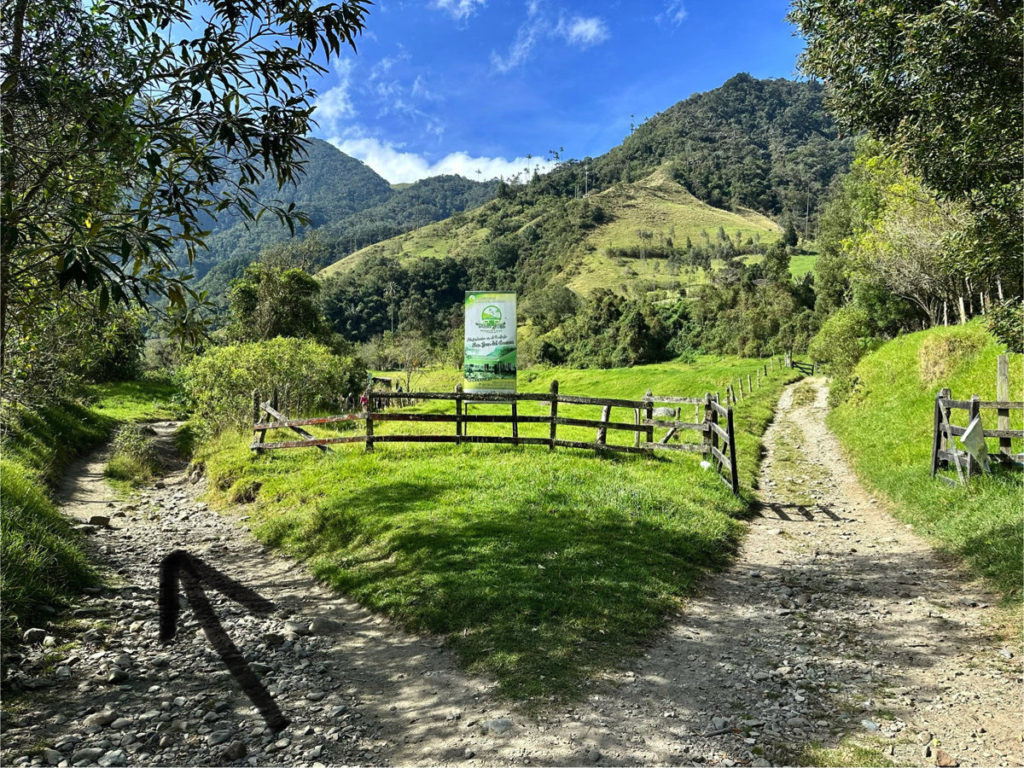
4. Stay on the trail to the left at the sign for Dónde Juan B.
5. Pay the 6,000 COP entrance fee to Finca el Porton Propiedad Privada.
You’ll start to catch a glimpse of the wax palm on the mountain ridge to your left before too long.
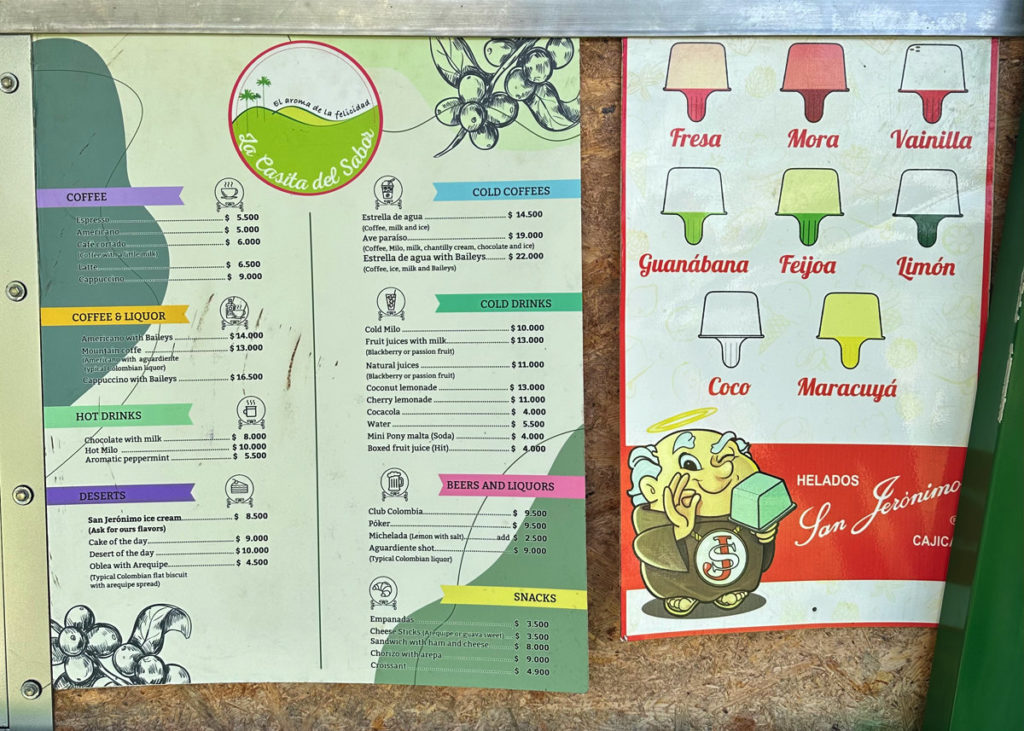
6. Pass the Camper Café on your left – pause for a photo op or to stock up on your food and beverage supply. Food and drink options included various hot and cold coffees, various lemonades, soda, water, chocolate milk, beer, liquors, empanadas, croissants, sandwiches, cheese sticks, and desserts (ice cream, obleas con arequipe, cake).
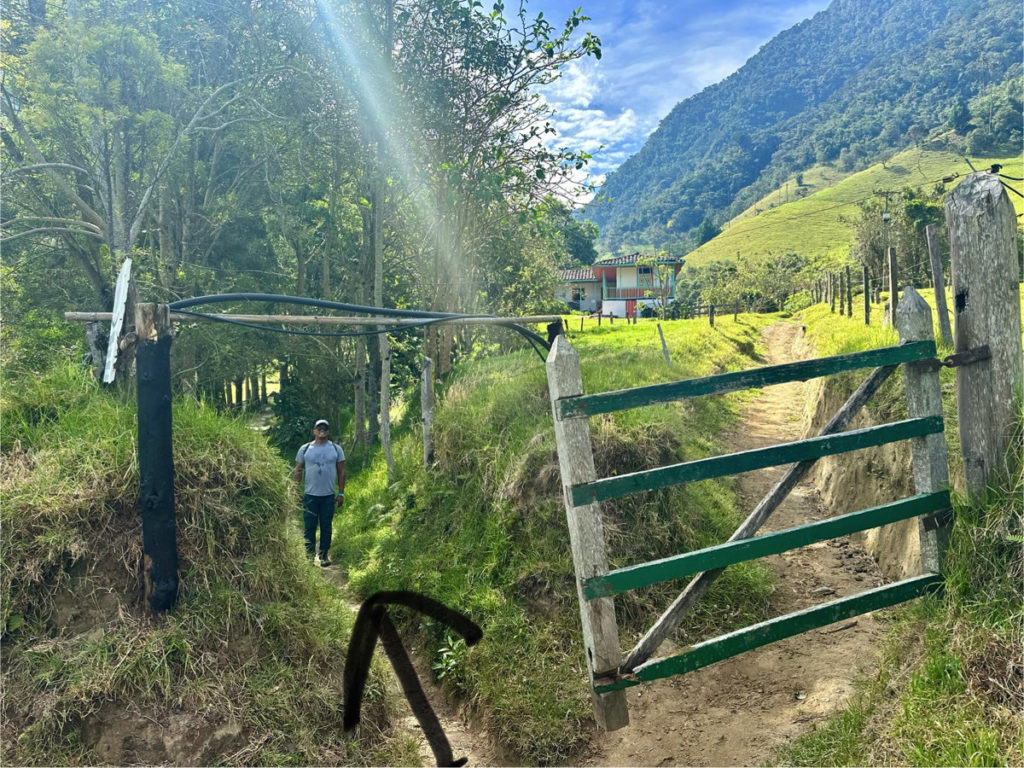
7. Just after the Camper Cafe, take the trail to the left (the right is private property, you’ll see a gate and a house).
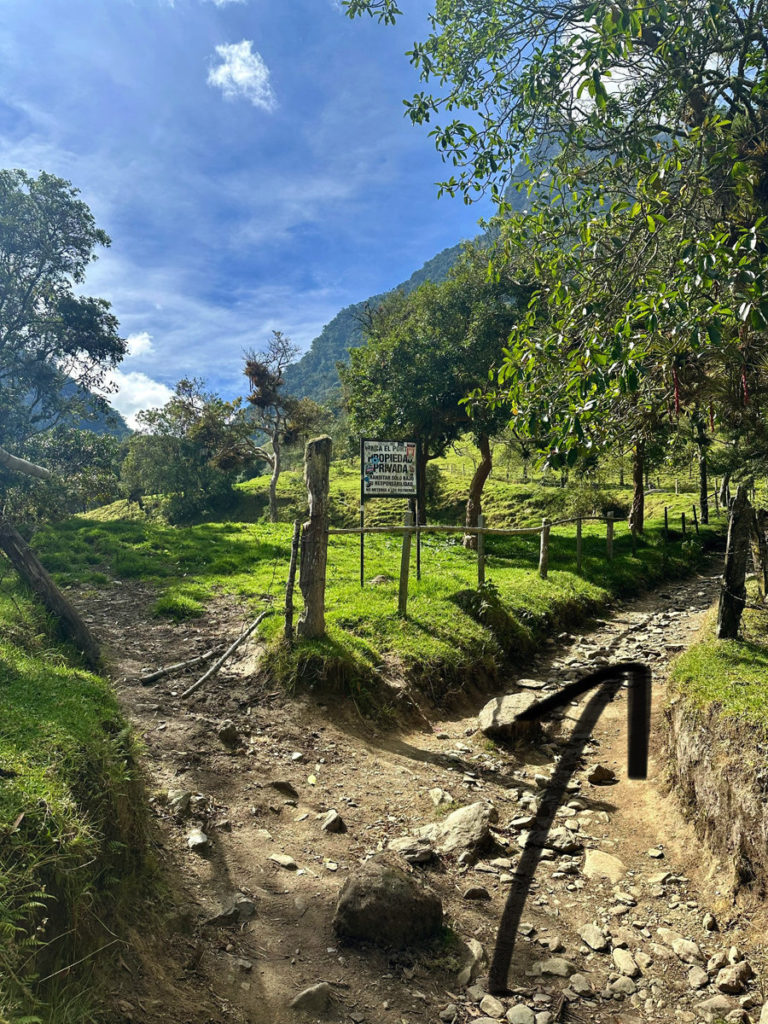
8. At the “propiedad privada” (private property) sign, veer to the right.
9. Pass by a small “waterfall” stream on your right-hand side (potentially seasonally dependent). Continue straight.
10. Pass a second small “waterfall” stream on the right-hand side that looks almost identical to the previous one.
11. Pass by the Foundation Herencia Verde sign.
12. You’ll enter a dense forest with good shade.
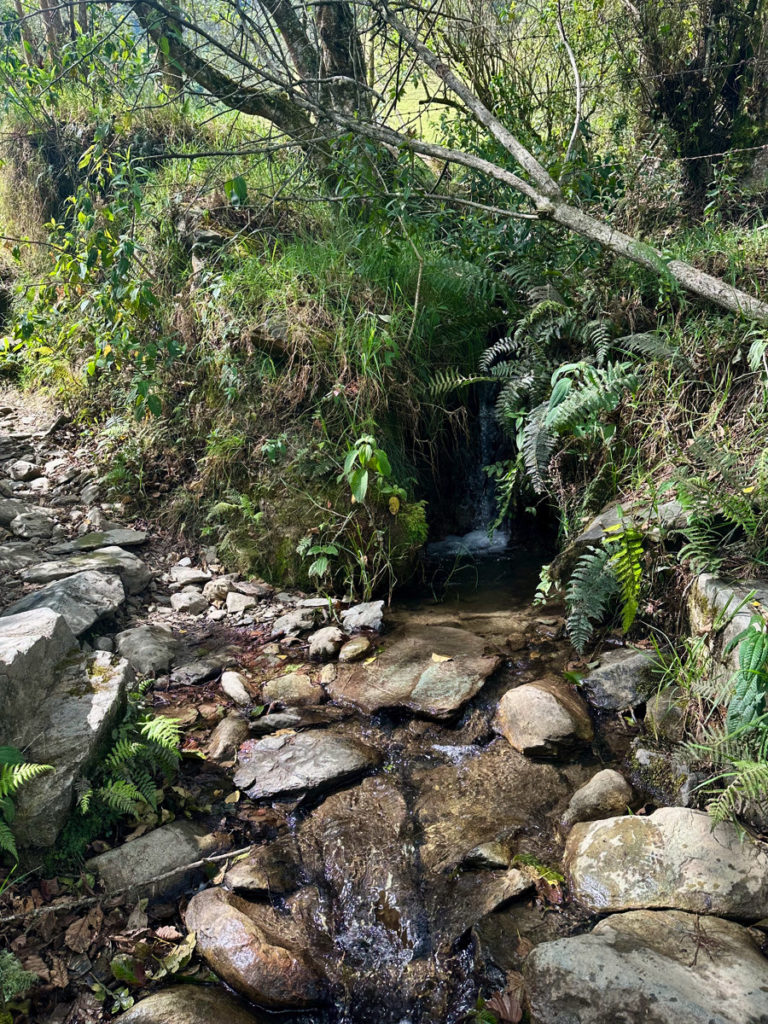
13. Then you’ll reach the real waterfall.
14. You can go left to walk down to the waterfall but there are caution signs about a landslide and that you should walk fast, so we skipped it and continued on the main trail to the right.
15. A minute later, you’ll see the trail split again. You can walk left to the falls but the main trail continues to the right.
16. 2nd bridge crossing.
17. 3rd bridge crossing.
18. 4th bridge crossing.
19. 5th bridge crossing.
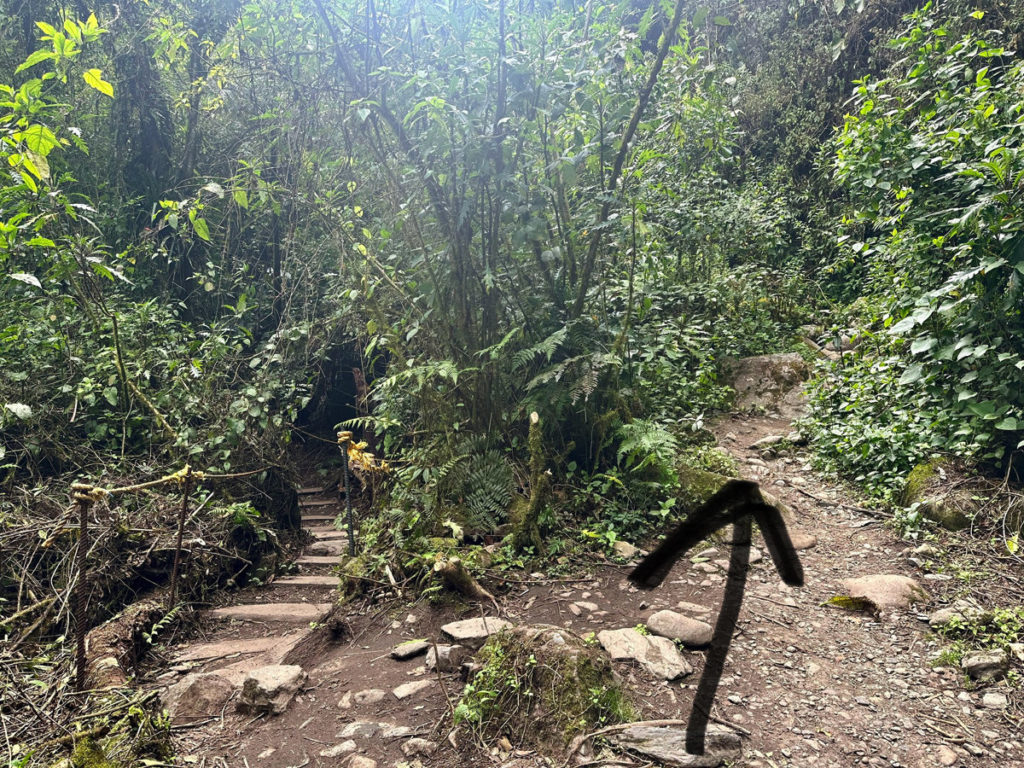
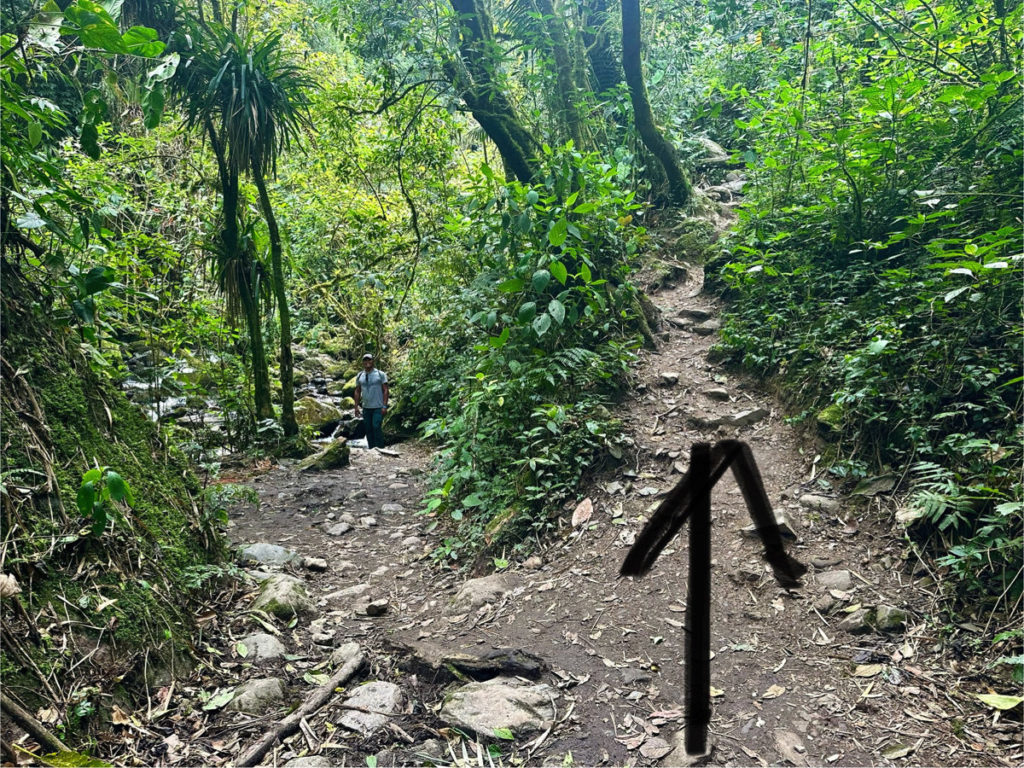
20. Just after the 5th bridge, the trail diverges into two possible routes. We took the route to the right up a steep trail since we saw someone coming down from above. However, we noticed another group take the trail to the left along the water which was more level, but potentially more treacherous with unstable ground.
21. 6th bridge crossing.
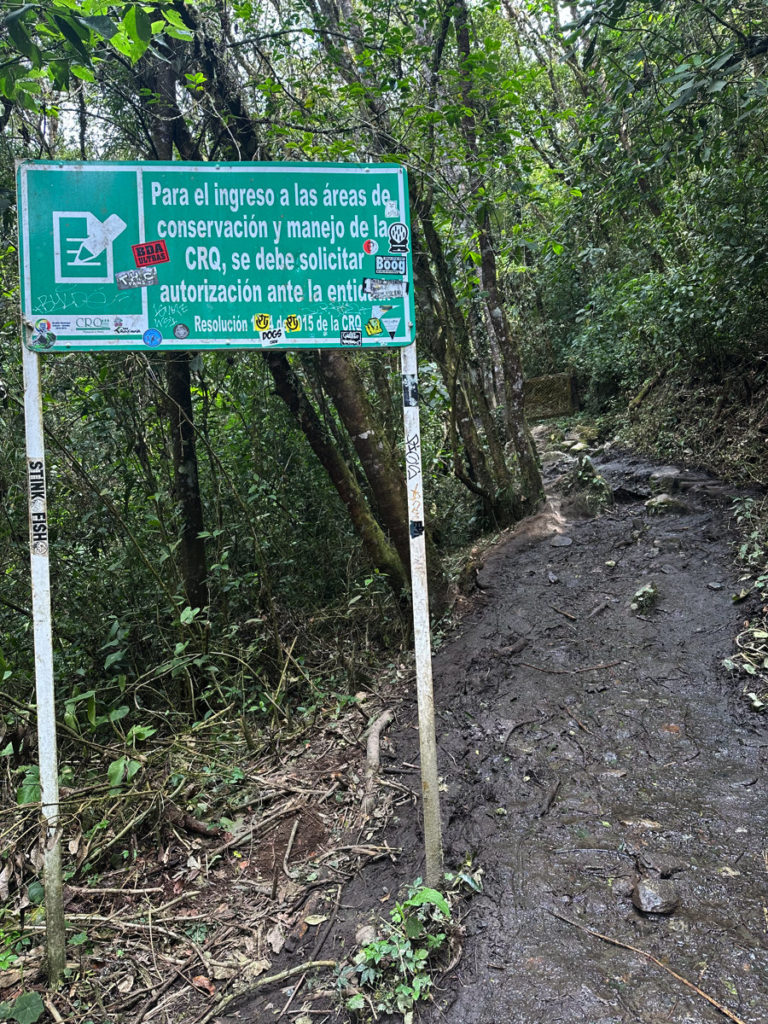
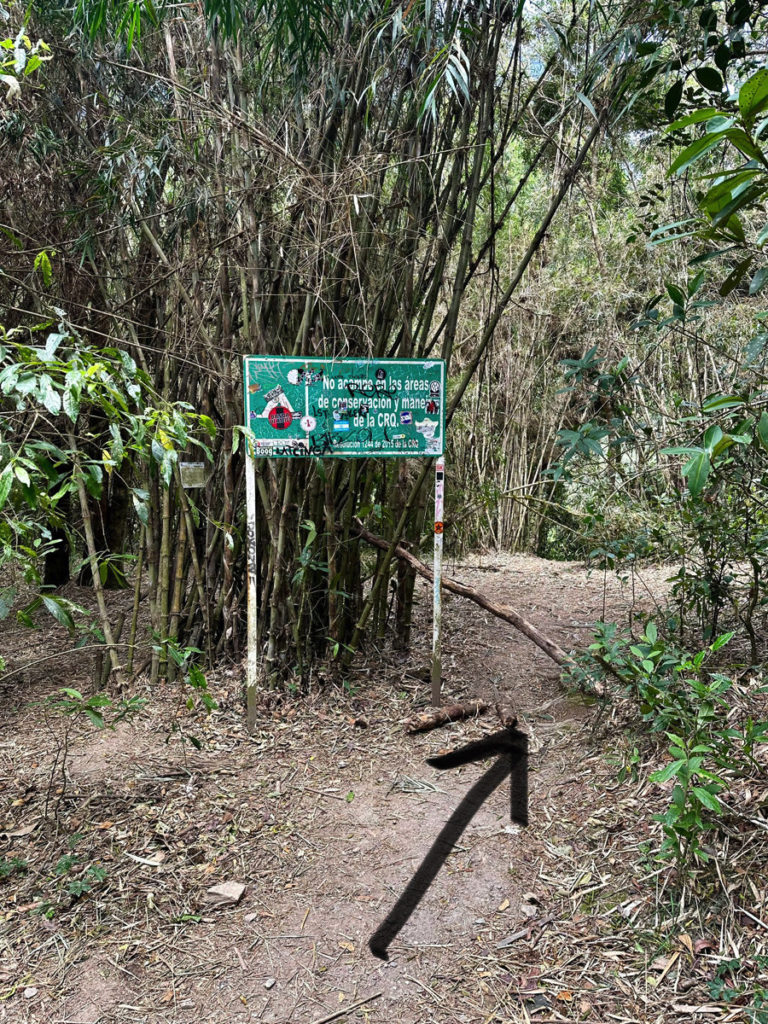
22. You’ll see a sign reading “Area de Conservación y Manejo la Montaña” – the trail continues to the left.
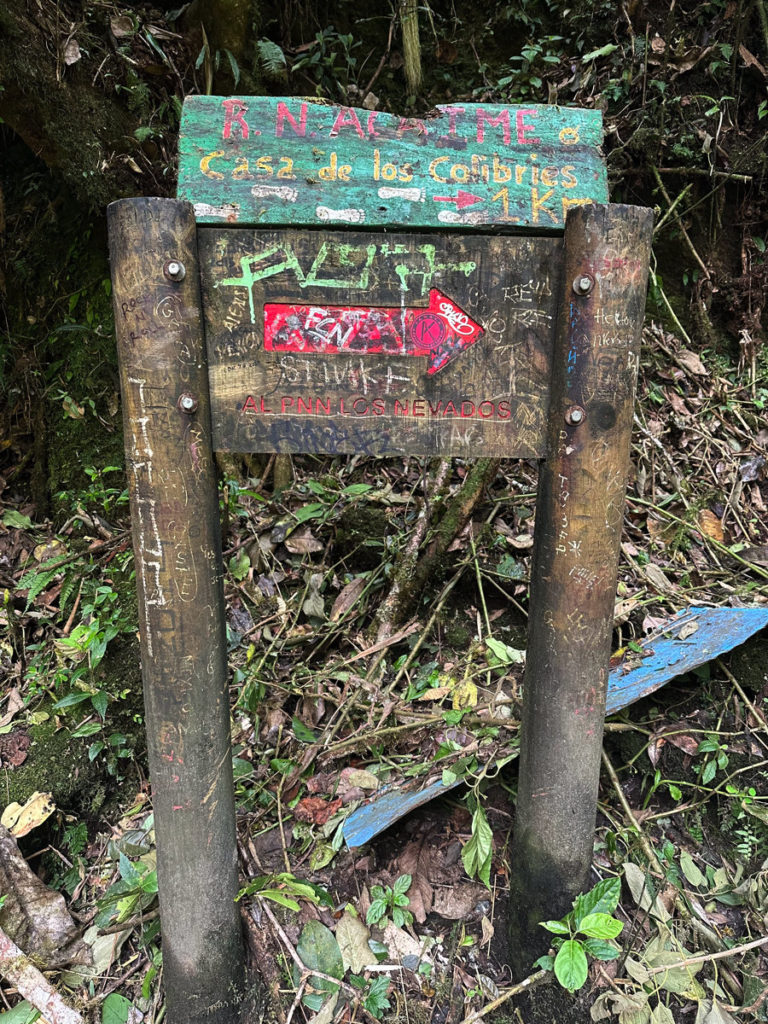
23. You’ll see a sign for “R.N. Acaime Casa de Los Calibres” (hummingbird house, also known simply as Acaime) as well as a sign for “AL PNN Los Nevados” pointing to the right. Take this detour if you want to go to the hummingbird house or the Los Nevados National Park. Otherwise, the main trail continues to the left and up past a green sign towards a gate.
Note: There’s a fee of 20,000 COP (USD 5) to enter the Acaime Hummingbird house. There is a bathroom and hot chocolate for sale. Going to Acaime will add 1.2 miles (2 km) to your hike.
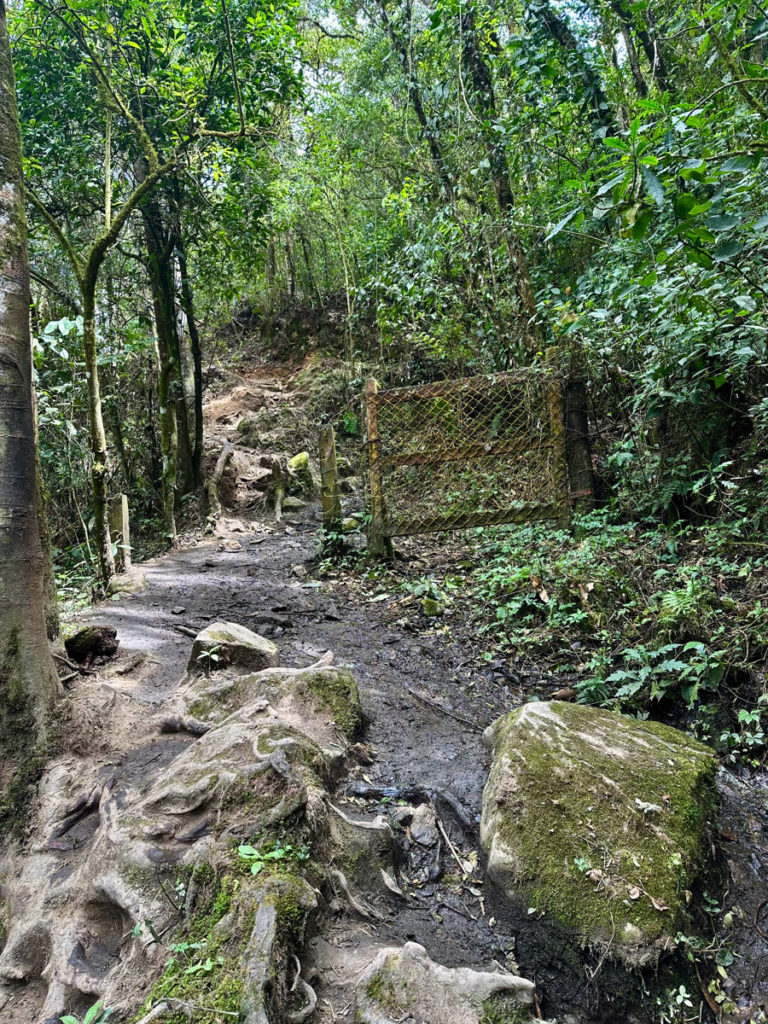
24. Continue straight, along the left side of the trail past a gate that blocks the right side of the trail.
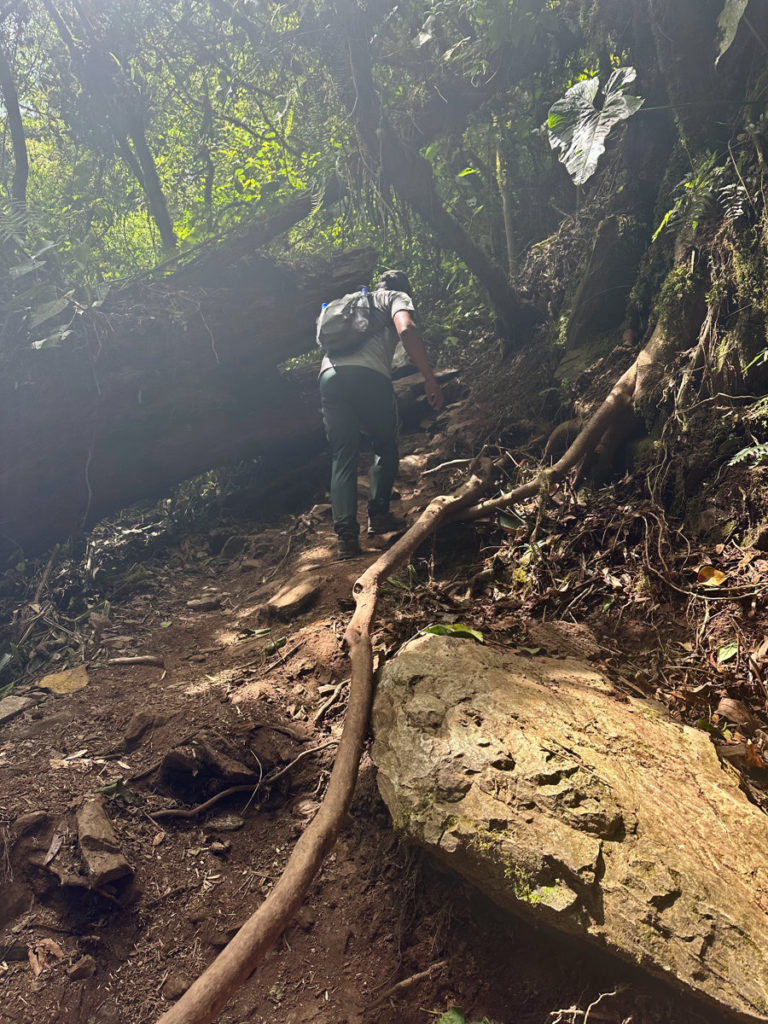
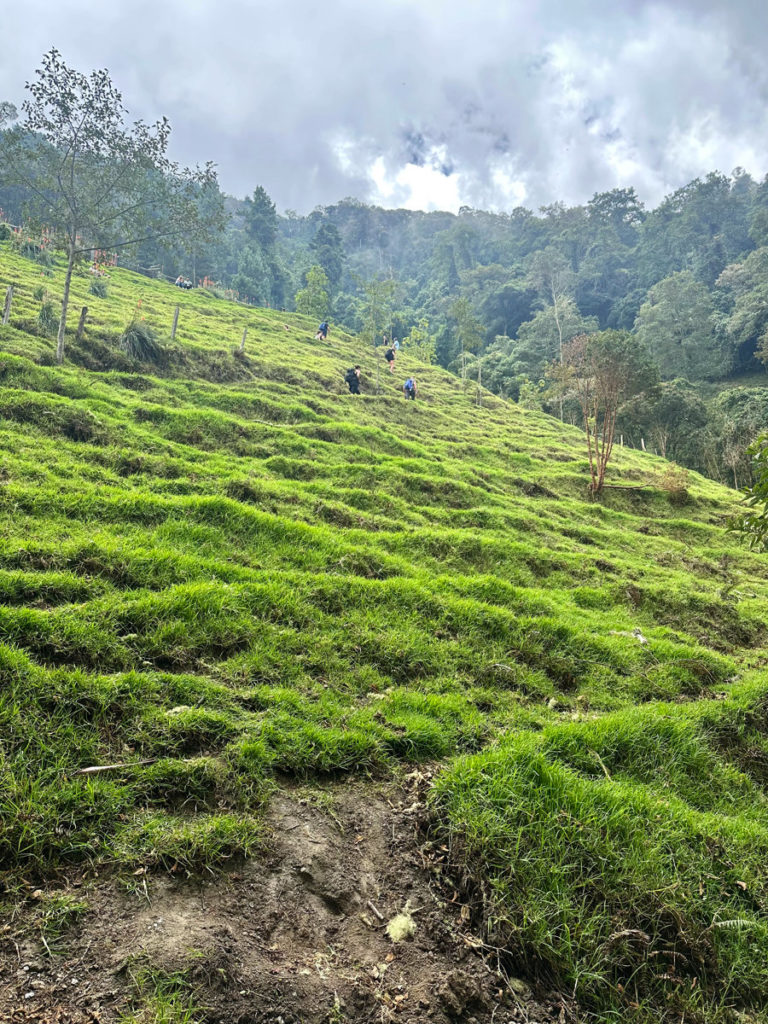
25. You’ll see another green sign. Stay to the right and climb in elevation for approximately 30 minutes until you reach the bottom of a green terraced hill with a home at the top.
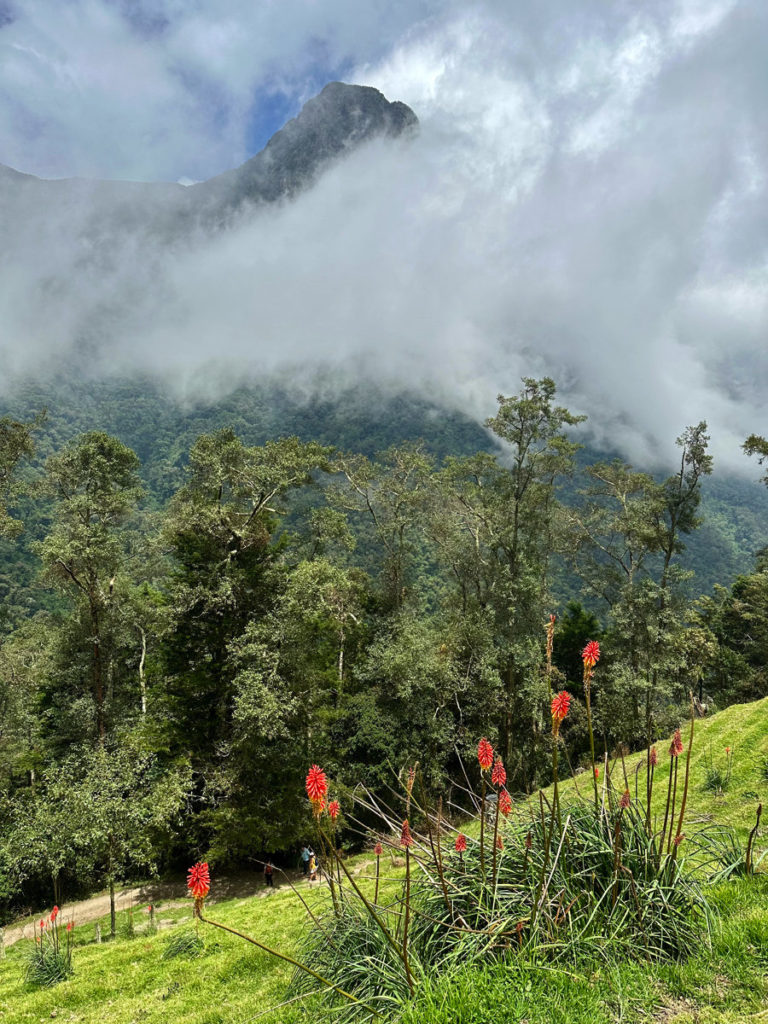
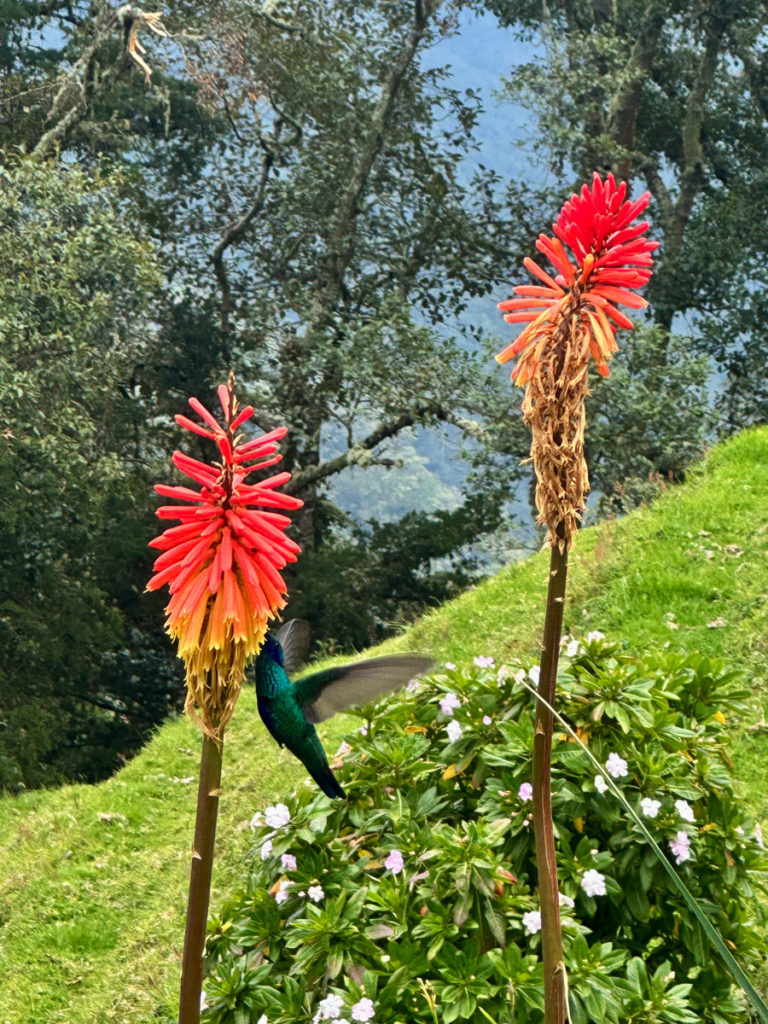
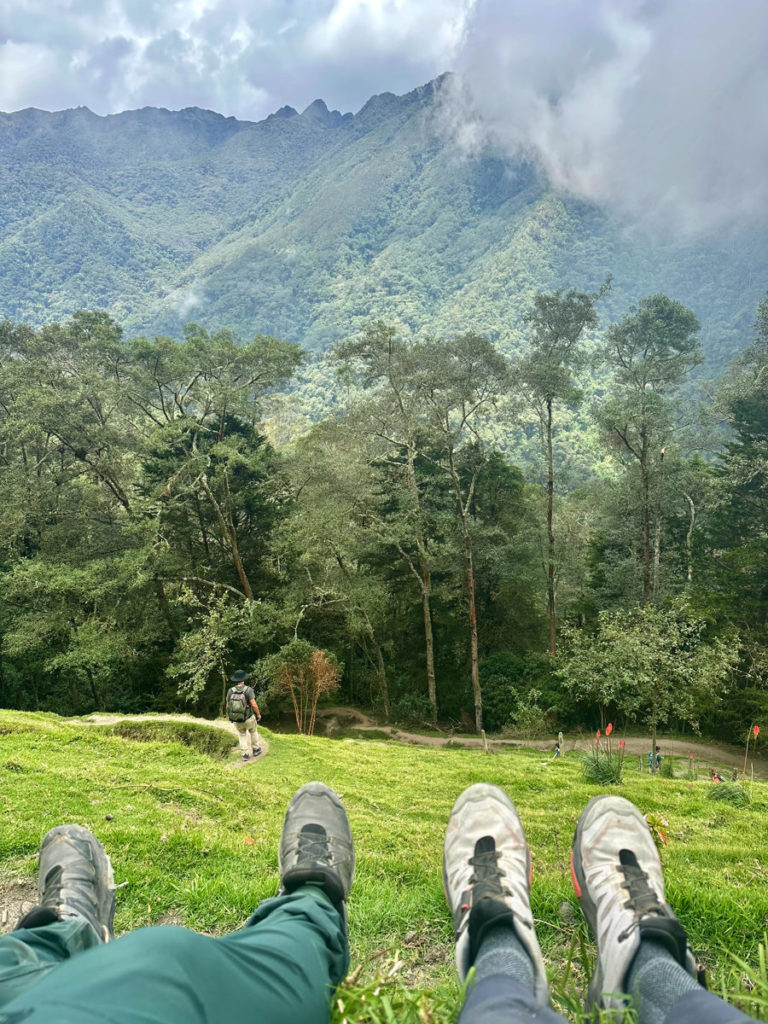
28. Follow the switchbacks to the top of the mountain (approximately 10 minutes or less) where you’ll find Finca La Montaña. Relax here for a bit, take in the view of Cerro Morrogacho, and keep an eye out for hummingbirds!
Note: If Finca La Montaña is open, there is a bathroom (fee may apply) as well as snacks and drinks for sale. But, don’t count on this, as it was closed the day we visited!
29. Then exit through the fence to the left of the house and head down the wide rocky dirt path through what looks like a redwood forest.
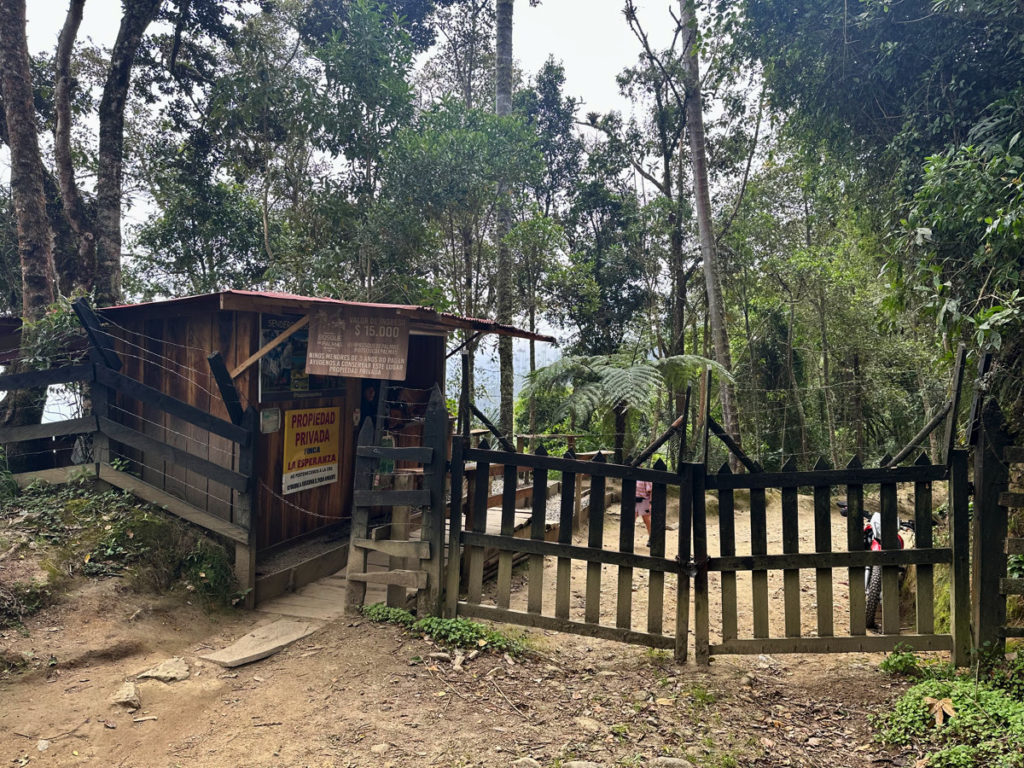
30. You’ll then reach a small hut where you’ll pay 15,000 COP. You can buy snacks and drinks here.
Note: There’s a decent view around the back of the hut.
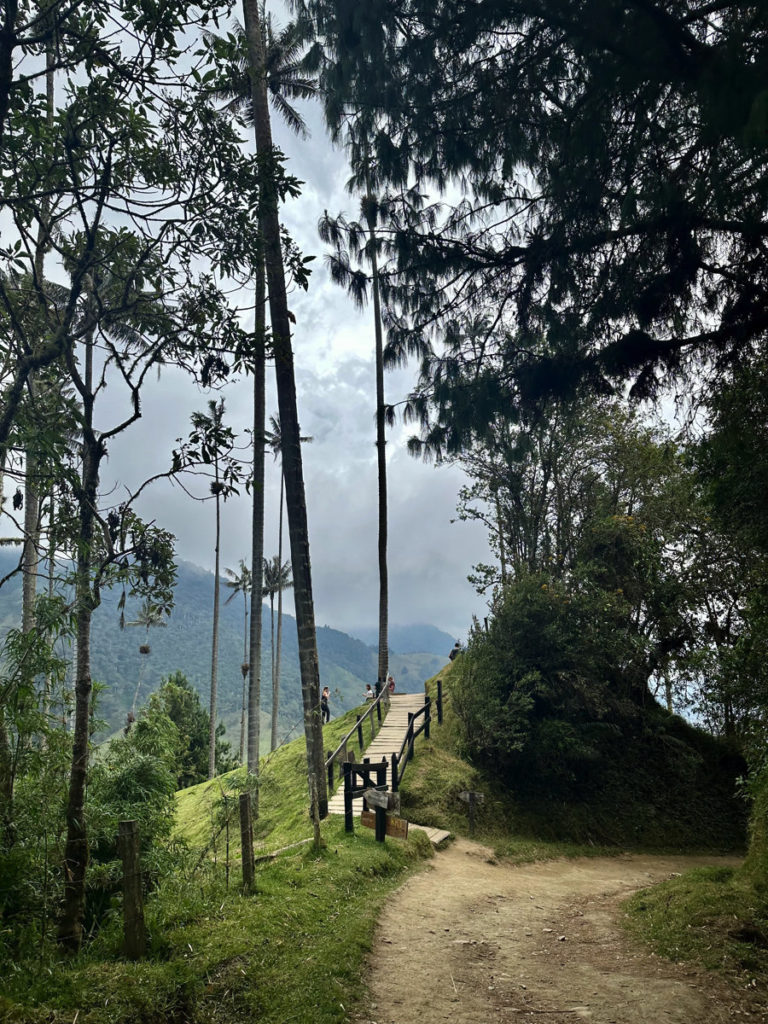
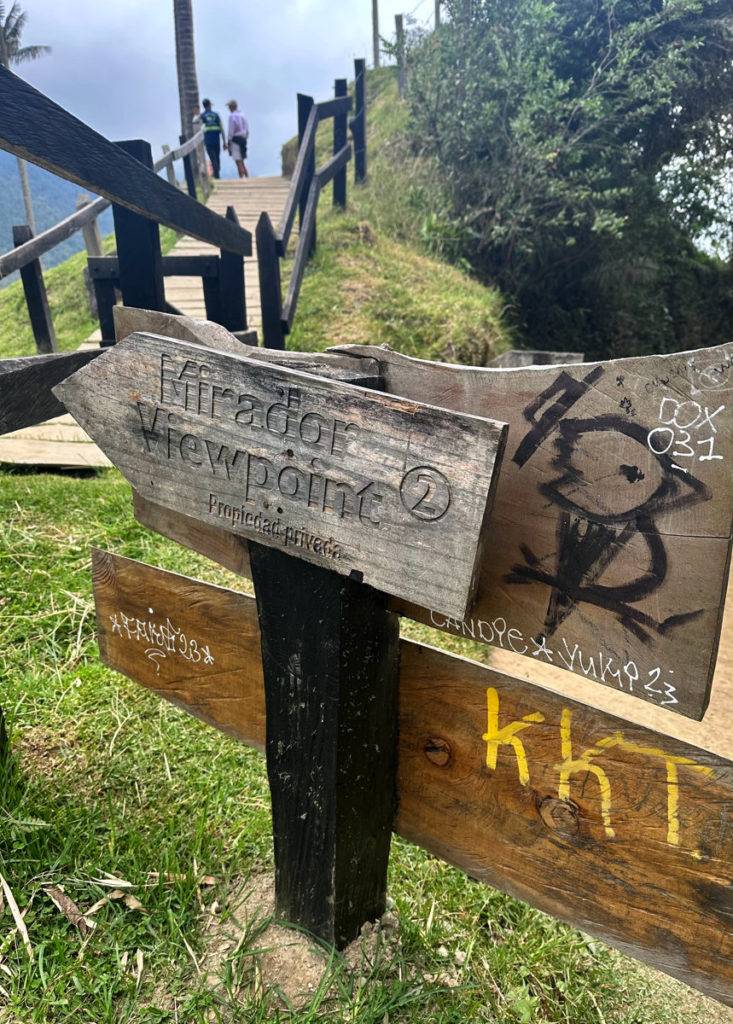
31. After continuing along the trail for a short while, you’ll reach two miradors, or viewpoints. The first is Mirador II and the second is Mirador I. The second viewpoint, Mirador I, leads you down a narrow path along a ridge to the selfie park and out through the exit.
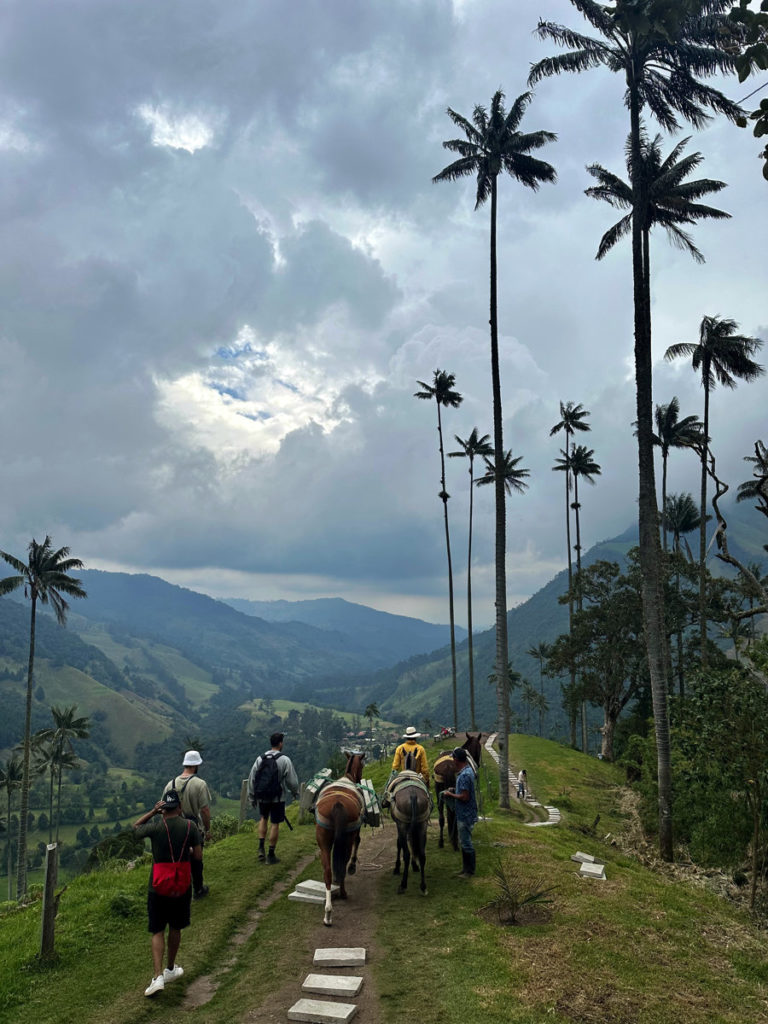
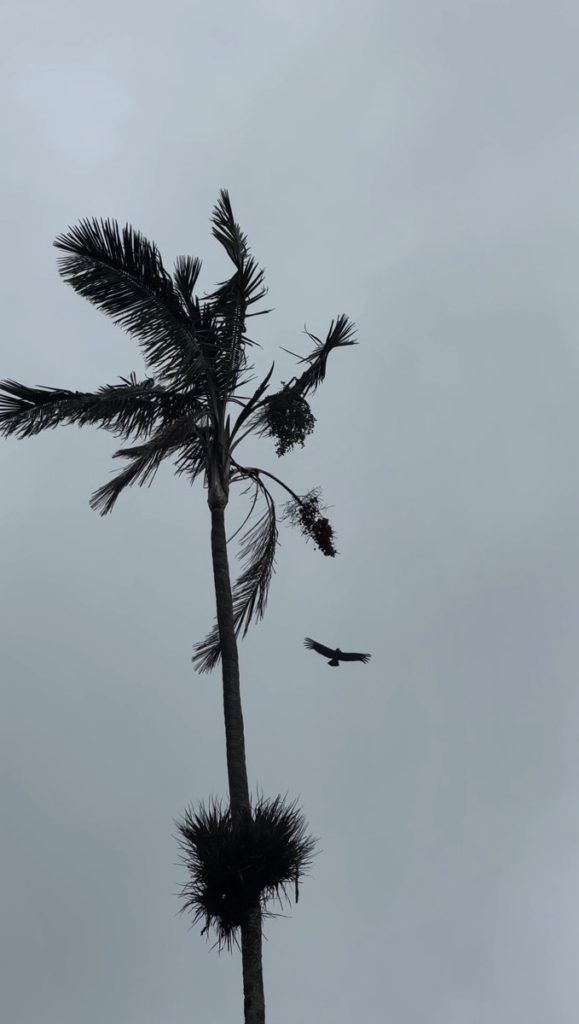
Keep your eyes peeled for the Andean Condor, often viewed circling above.
32. You’ll pass a large parking lot on your right as you continue walking down the dirt road to the small gravel lot where you got dropped off by the Willys. Hop at the back of the line and wait your turn.
Remember, there’s a bathroom across the street for 1,000 COP (25 cents) if you need it.
Note: I believe there are 7 bridges and I forgot to document one of them.
Tips For The Cocora Valley Hike
- The Finca La Montaña was closed the day we were there! Definitely don’t count on it for the bathroom, snacks, or drinks.
- I drank 1.5 liters of water and half a mango juice on the hike. Pack 2 liters of water minimum to be on the safe side.
- Prices and trail conditions can change without advanced notice, so check with your accommodation to see if they have any updates and be prepared with extra cash.
- Hike in the morning, as it often clouds over and/or rains in the afternoon.
How To Prepare To Hike Cocora Valley
- Check the Willys departure times at the kiosk in Salento’s Plaza de Bolivar the day before your hike
- Pre-order a packed lunch and set a reminder to pick it up the morning of your hike (see below)
- Download/update offline Google Maps and Maps.me
- Take screenshots of the step-by-step trail route above
- Charge all devices – phone, camera batteries, etc.
- Set your alarm for the morning
- Put out your clothes for the hike the night before:
- Hiking boots (the trail is often muddy) – My Salomon X Ultra 4 Gore-tex were perfect
- Breathable, blister-free socks
- Water-repellant hiking pants
- Rain jacket or poncho
- Hat for sun and rain protection
- A warm, long-sleeve layer for cooler temperatures on top of the mountain
- Pack the following in your daypack:
- 2 liters of water minimum – I used my lightweight Vapur bottle + another plastic bottle
- Sunscreen
- Bugspray – Salento is sand-fly territory! And if you’re not familiar, their bites are terrible!
- Sunglasses
- Headlamp, just in case
- Power bank
- Enough cash for a roundtrip Willys ride, all entrance fees, snacks/drinks, and some extra, just in case
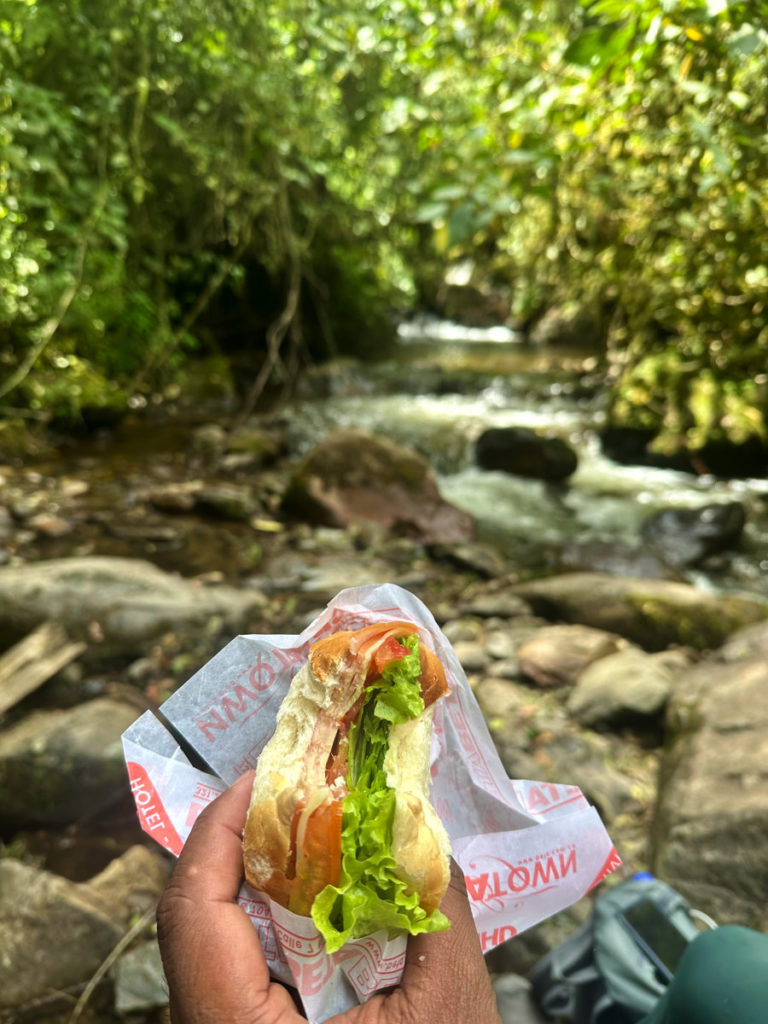
I highly recommend you pre-order a packed lunch from a restaurant in Salento. On the day of our hike, we left Salento at 8:20 AM and didn’t return until 5 PM since we met a lovely couple on the trail that we spent hours chatting with underneath the palms. We were really glad we had food to eat along the trail as we admired the incredible scenery around us, especially since the Finca La Montaña was closed.
The two restaurants I found that provide packed lunches in Salento are Betatown and Brunch. We ordered lunches from both – one for the day we hiked Cocora Valley and one for our long bus trip to Medellin. I’ve compared the packed lunches from both Betatown and Brunch in detail below.
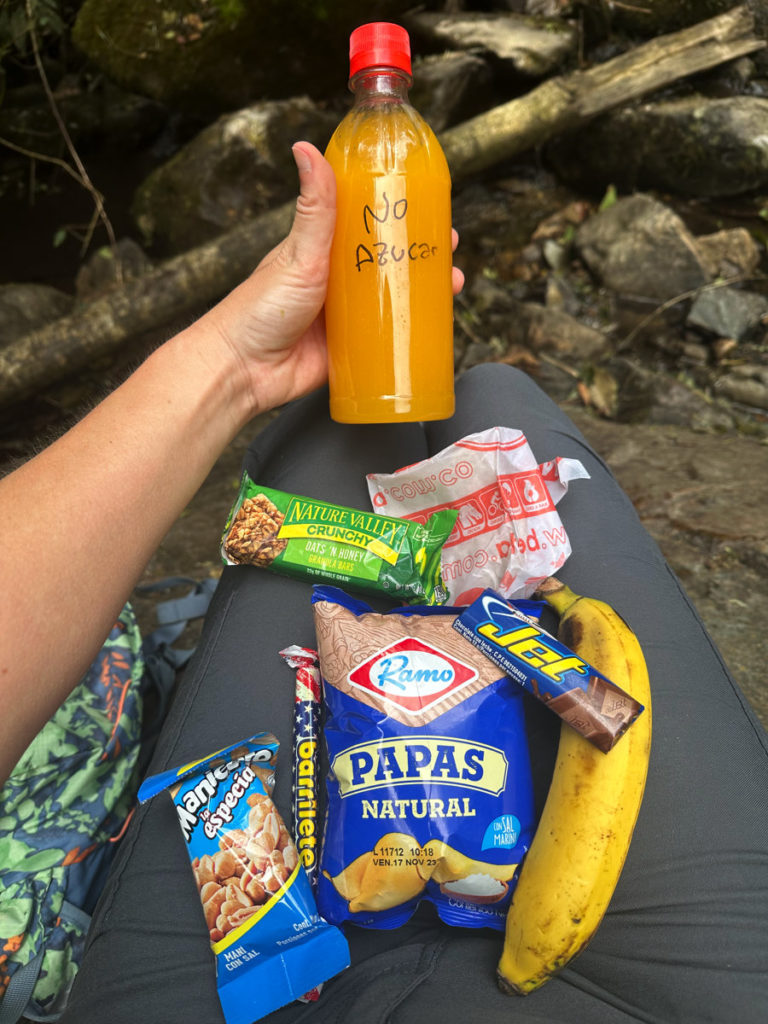
Betatown
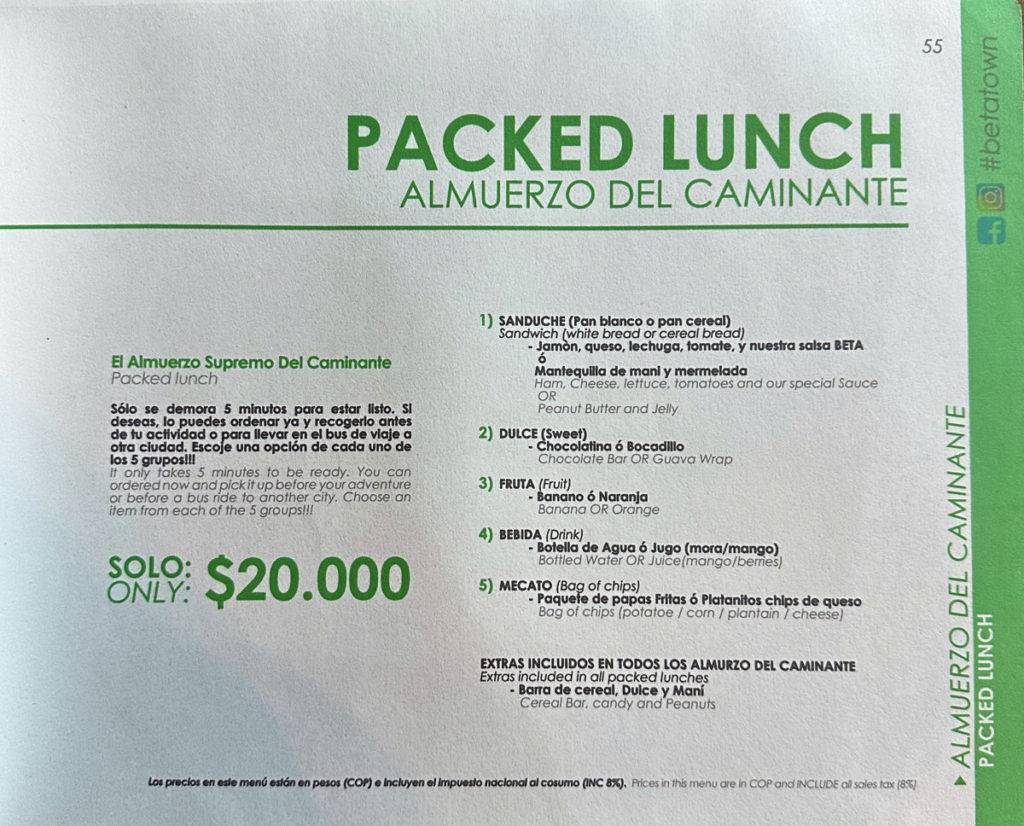
Betatown Packed Lunch Pros:
- Freshly squeezed juice.
- Easy, mess-free packaging.
- Easy-to-manage, tasty sandwiches with condiments already applied.
- Quantity of items.
- Pleasantly surprised to find that the “cereal bar” was a Nature Valley bar, one of my favorites — not sure if they always provide Nature Valley or if it varies.
- The peanut butter sandwich was really delicious. It had the perfect ratio of smooth peanut butter to jelly between two soft pieces of bread. I didn’t mind that the bread became slightly soggy from the jelly – it was still delicious.
- Ability to select savory/salty chips to balance out the sweetness of everything else.

Betatown Packed Lunch Cons:
- Cold cuts were used for my husband’s ham sandwich, but the yummy secret sauce helped to mask the meat.
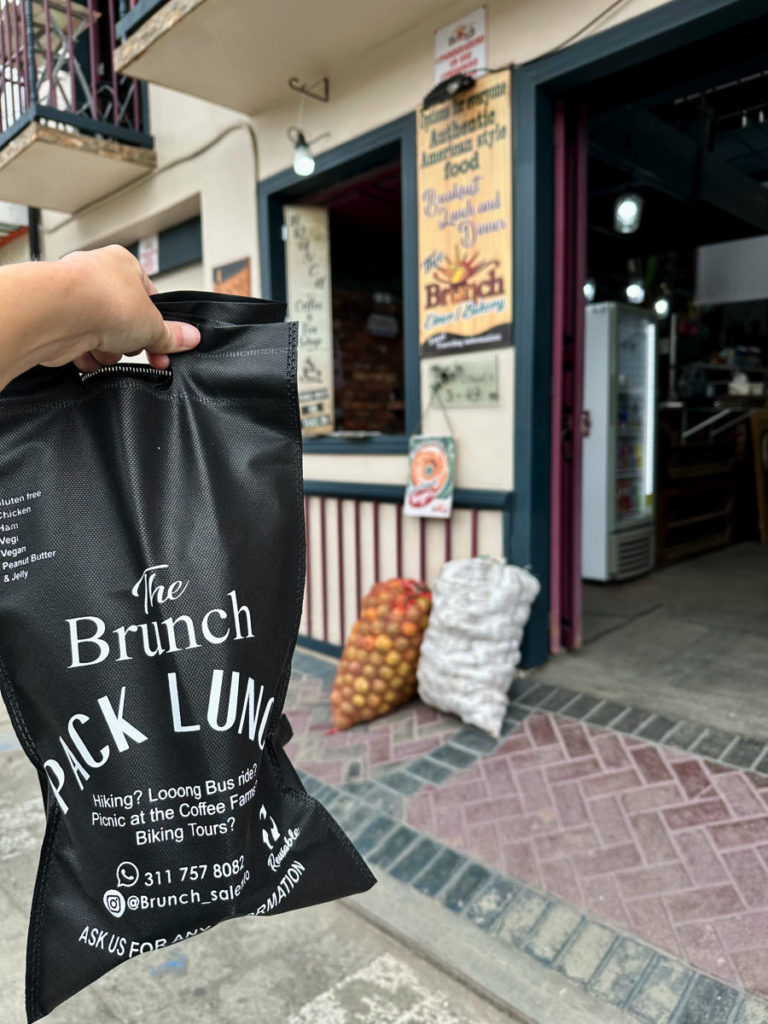
Brunch
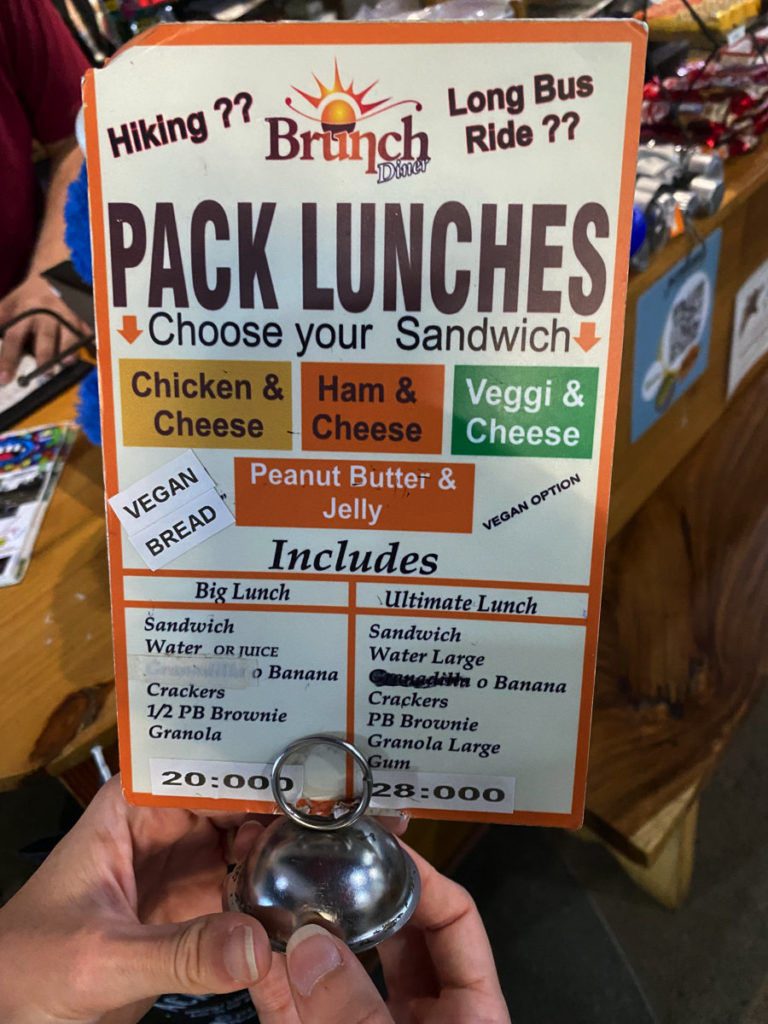
Brunch Packed Lunch Pros:
- Fresh baked goods
- I would never order a peanut butter brownie, but oh my goodness, this brownie was KILLER. There was a super creamy layer of fresh peanut butter in the middle of two layers of fudgey goodness sandwiched between an outer layer of baked brownie. Quite rich but oh so delicious. It’s a good thing they only give 1/2 in the standard packed lunch!
- The freshly baked granola was also a nice substitute for a packaged bar.
- Baked chicken was used instead of cold cuts. However, my husband still liked the sandwich from Betatown overall because of the type of bread, ease of eating, and delicious secret sauce.
- Coupon for free orange juice.
Brunch Packed Lunch Cons:
- Super thick bread — I guess the carbs would be good for a hike, but it was so big, that it hurt my jaw to try to figure out how to consume it. My bread was also stale (my husband’s wasn’t).
- Separate packages of condiments – I understand they did this to prevent the sandwiches from getting soggy, but it was really challenging to spread sticky jelly onto my sandwich on a moving bus. Adding mayonnaise and mustard to my husband’s sandwich was also a feat. Then, there’s the issue of disposing of the messy cartons and packets of condiments. They gave the packed lunch in a small, expensive, branded reusable bag instead of a plastic bag. Sure, the reusable bag is better for the environment, but it’s not a practical shape/design for reuse, and it got destroyed during the eating process by messy condiments. Therefore, in the end, it became unusable. As a note: they provide some items in a taped silver pouch. My recommendation is to retrieve the condiments and empty the remaining contents into your reusable bag before opening up your sandwich. Then you can use the silver pouch for trash — if you can prevent it from ripping in the process.
- Box juice, not fresh.
- The quantity of items was fewer than Betatown.
- There was a very thin layer of peanut butter between a super thick bun. I had to use up my side of the peanut butter that was provided for the crackers on my sandwich. Despite this, the sandwich was still not palatable. I even tried bites of banana simultaneously with bites of sandwich to try to alter consistency and flavor. This helped slightly, but I still left half the sandwich behind. I suppose it may have tasted better had I just hiked several miles and sweated a bunch, but I’m positive it still wouldn’t have come close to Betatown’s.
- If you choose the peanut butter sandwich, everything in your lunch will be sweet unless you opt to eat your crackers without peanut butter.
- Overemphasis on marketing. As my husband put it “there are more words than food”.
Overall winner – Betatown!
But, be sure to pick yourself up a 1/2 or full brownie from Brunch at some point while you’re in Salento.
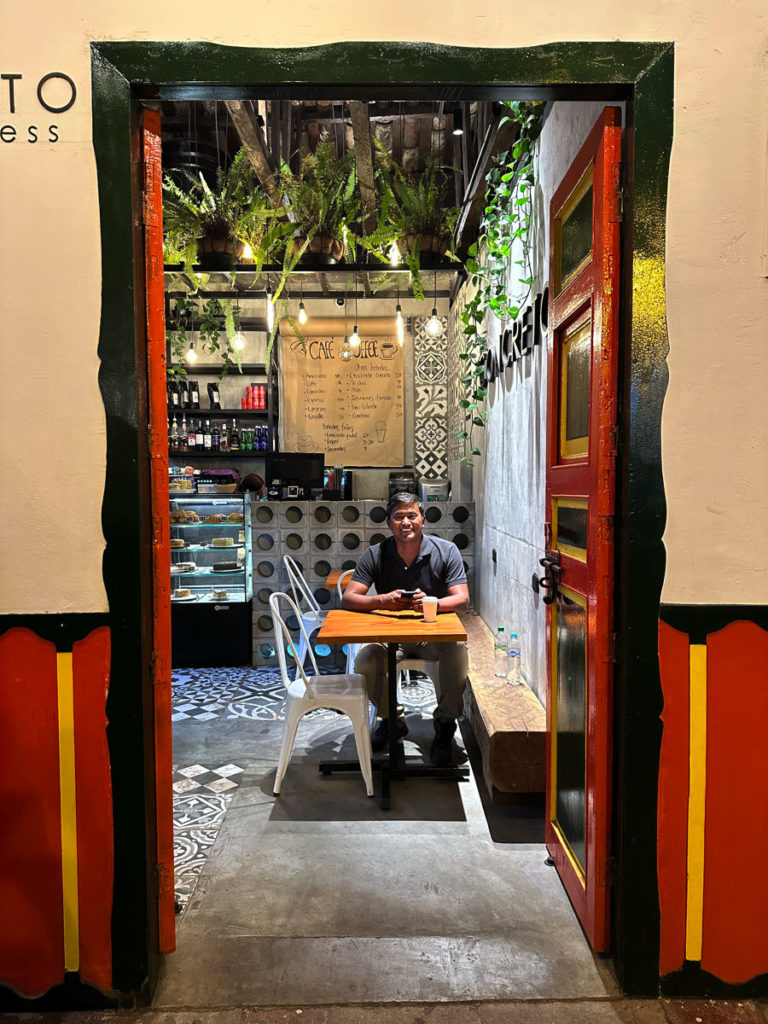
Note: We had a yummy dinner at Brunch, and since the name of the place is Brunch, I would hope they also serve a really good breakfast/brunch. The portions of our quesadilla and burrito were huge and the service was great!
Accommodation in Salento
Salento is quite hilly! If you’re traveling with a suitcase rather than a backpack, you’ll appreciate staying somewhere on the northern side of town between the bus terminal (Terminal de Buses de Salento) and Carrera 5.
Each side street has a different degree of incline, so I can’t guarantee that every accommodation between the bus terminal and Carrera 5 will be mostly flat.
Therefore, the closer to the terminal on the west side of town, the better and less chance of incline! See the map screenshot below for the optimal lodging location for travelers with suitcases rather than backpacks.

From the bus terminal, there’s a steady incline on Carerra 1 Norte until just before Carerra 2. Heading along Calle 6, there’s a slight downhill between Carerra 2 and 4 when heading into town. The road levels off before a steep uphill to the Plaza. Although the hill is short-lived, this was not fun even with a small carry-on suitcase.
After the plaza, we continued along Calle 6 down a steep hill towards our accommodation. As we veered off onto Carerra 9, the road turned to gravel and there was no sidewalk.
Avoid all of this by staying on the north end of town!
Book your accommodation in Salento below through Agoda for the best rates!
Tip: I recommend you spend at least 3 full days in Salento to get the most out of this quaint town and all that the region has to offer.
8 Other Things To Do In Salento
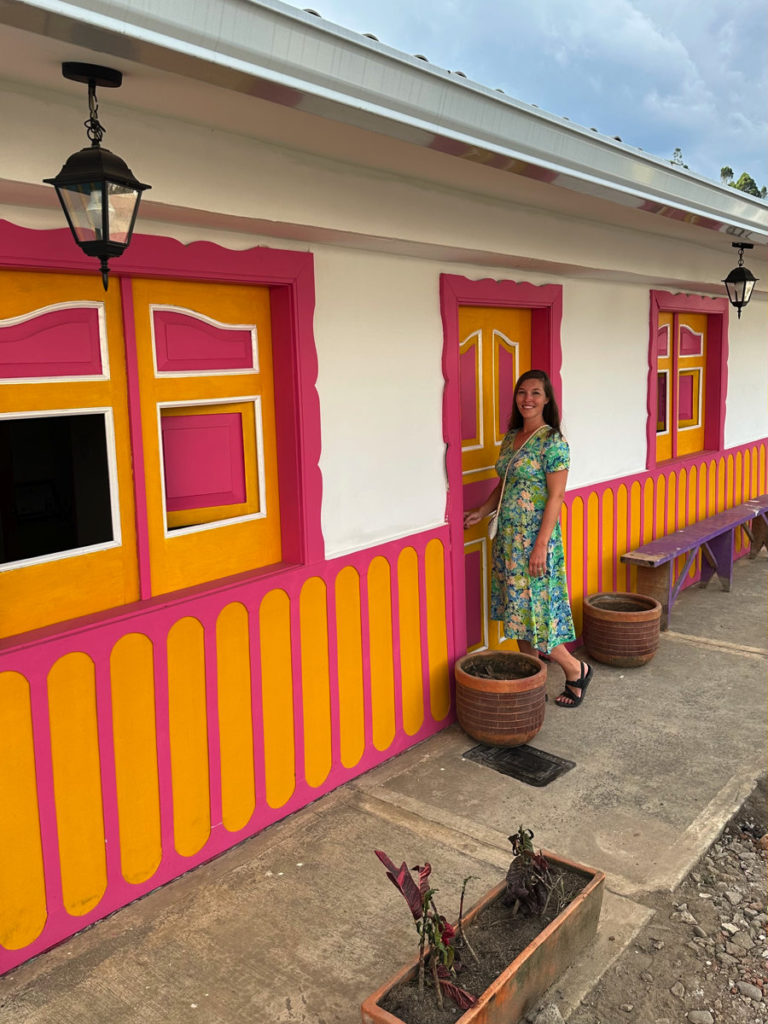
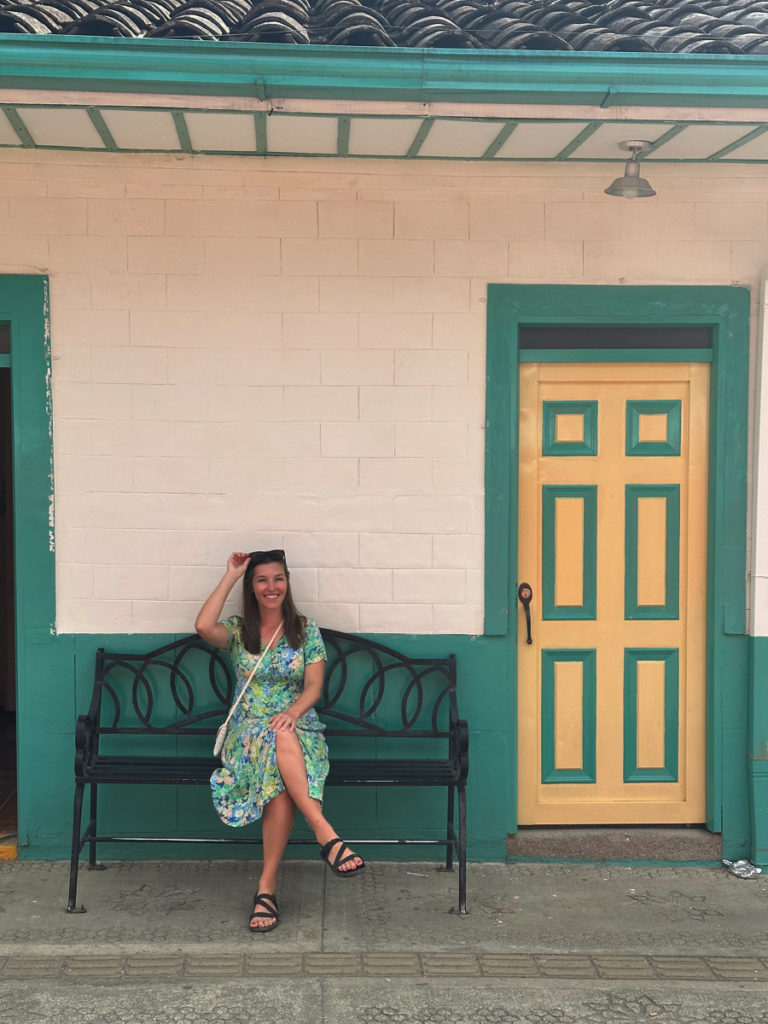
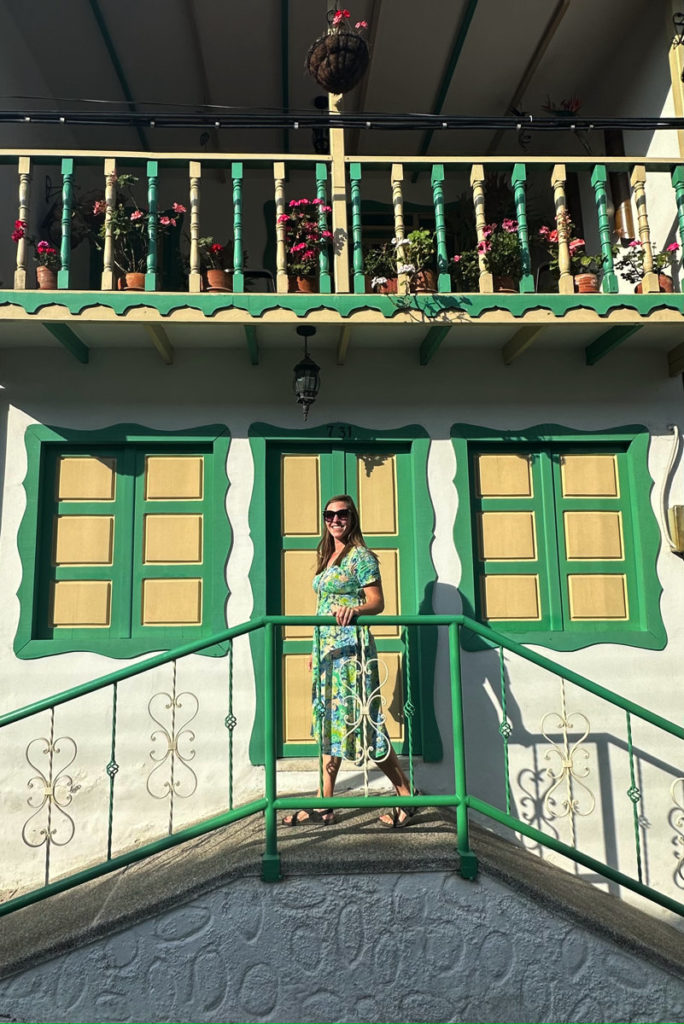
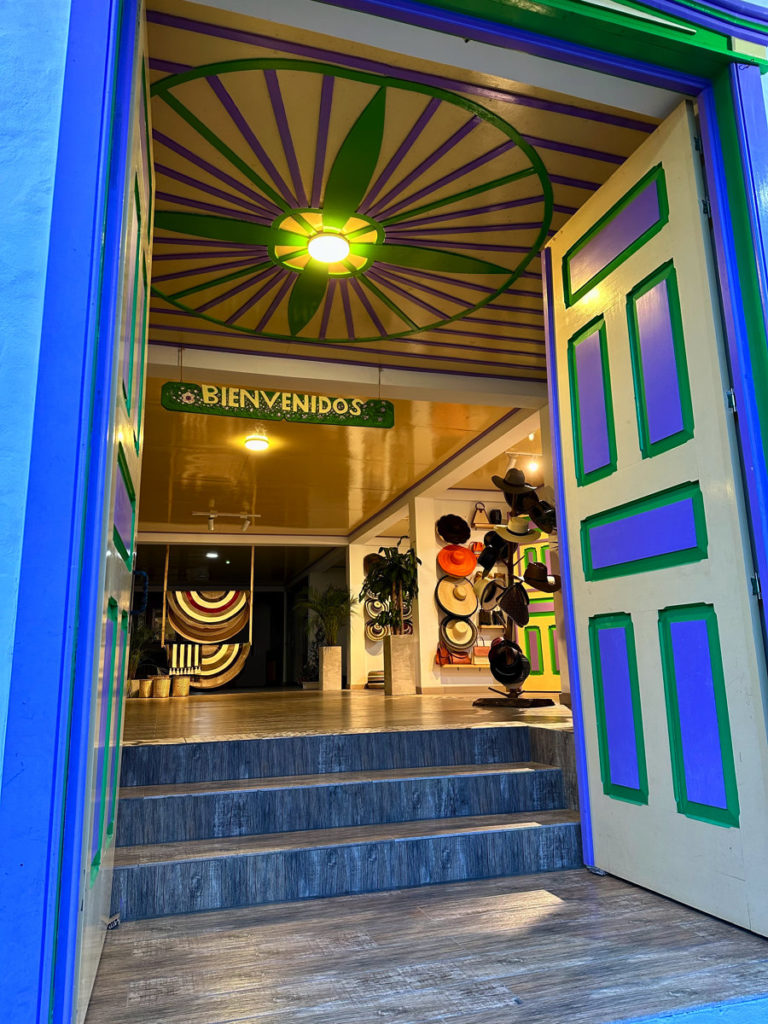
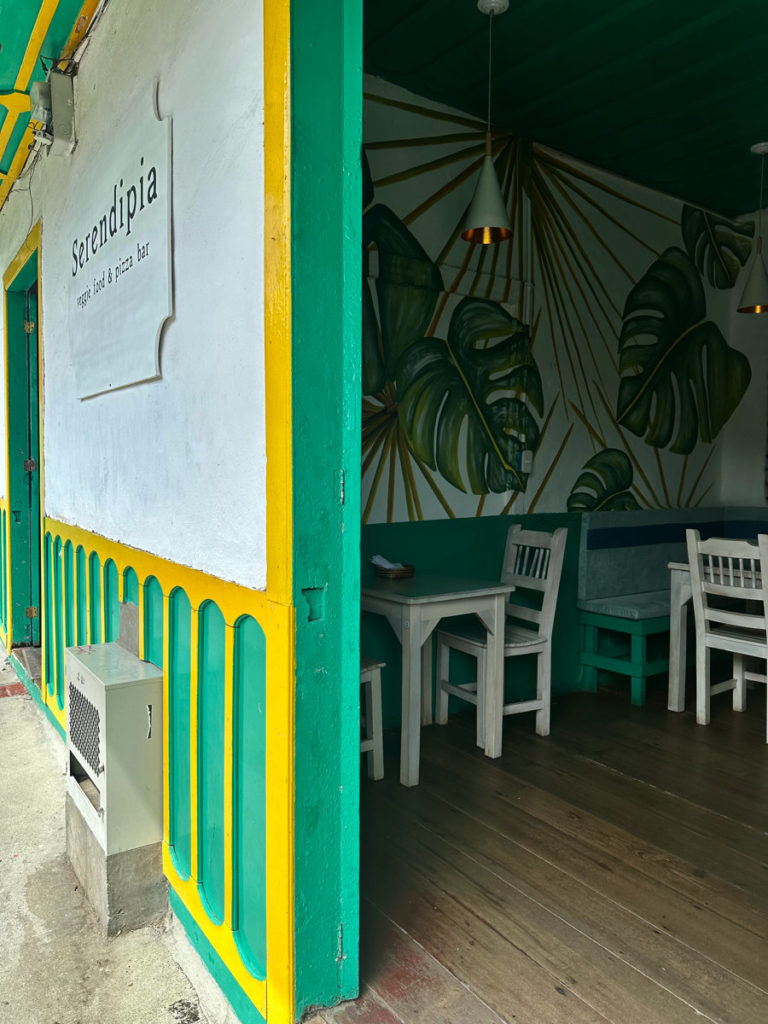
1. Wander the charming, colorful streets of the small town.
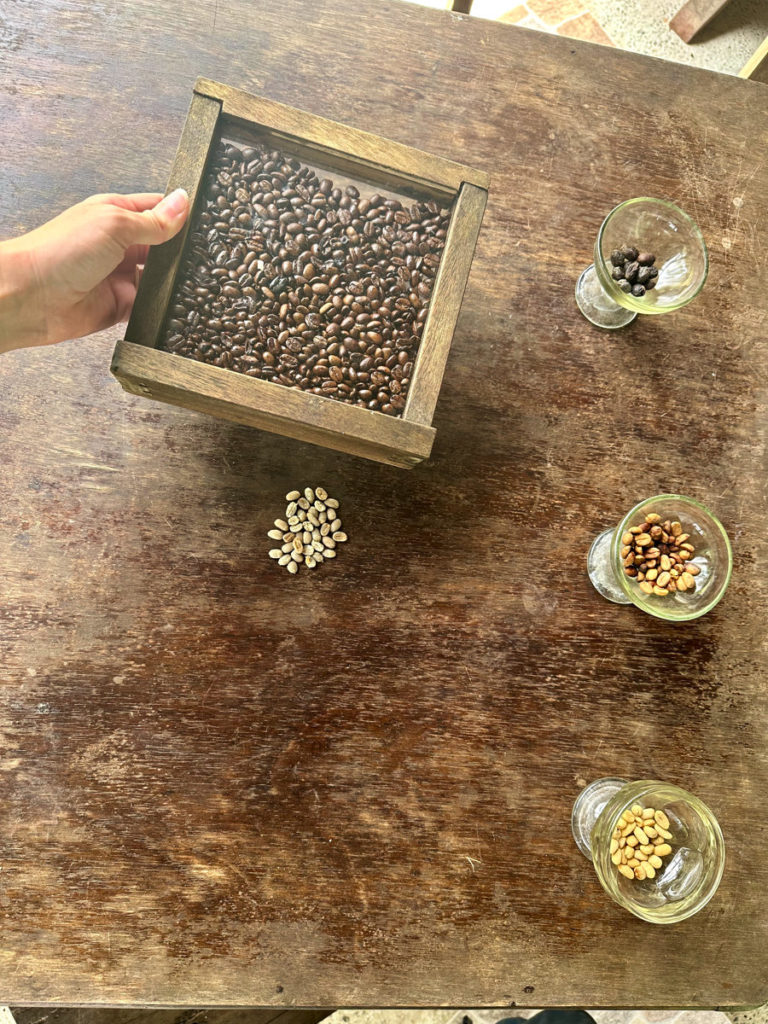
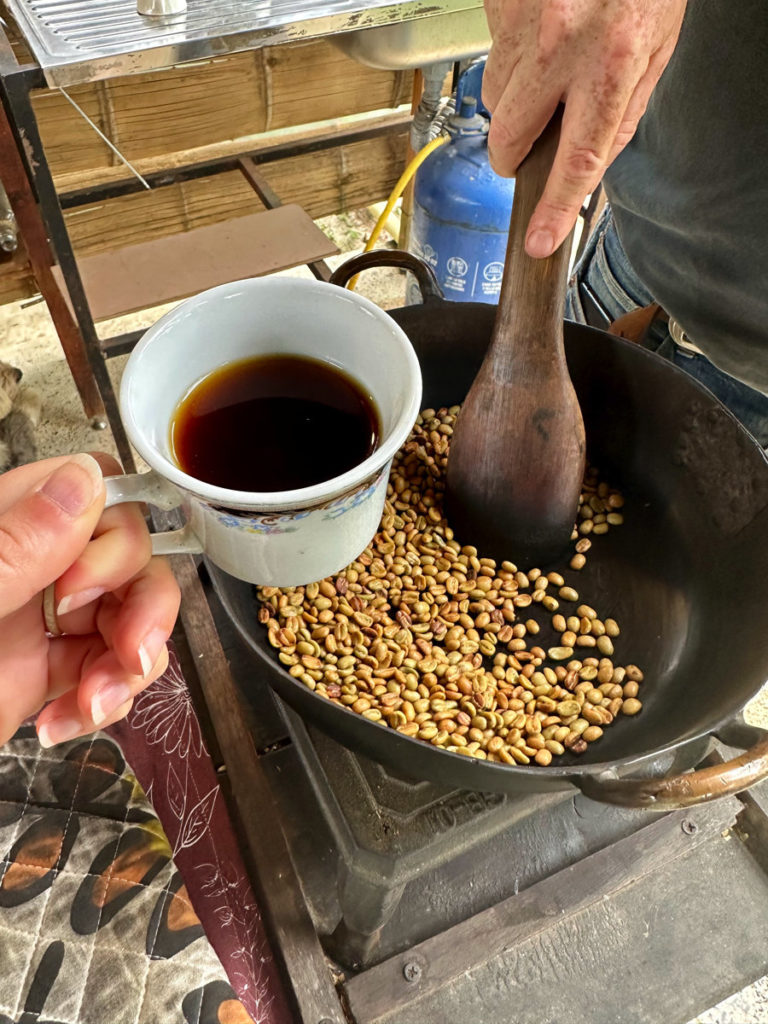
2. Go on a coffee tour – either in town or outside of town.

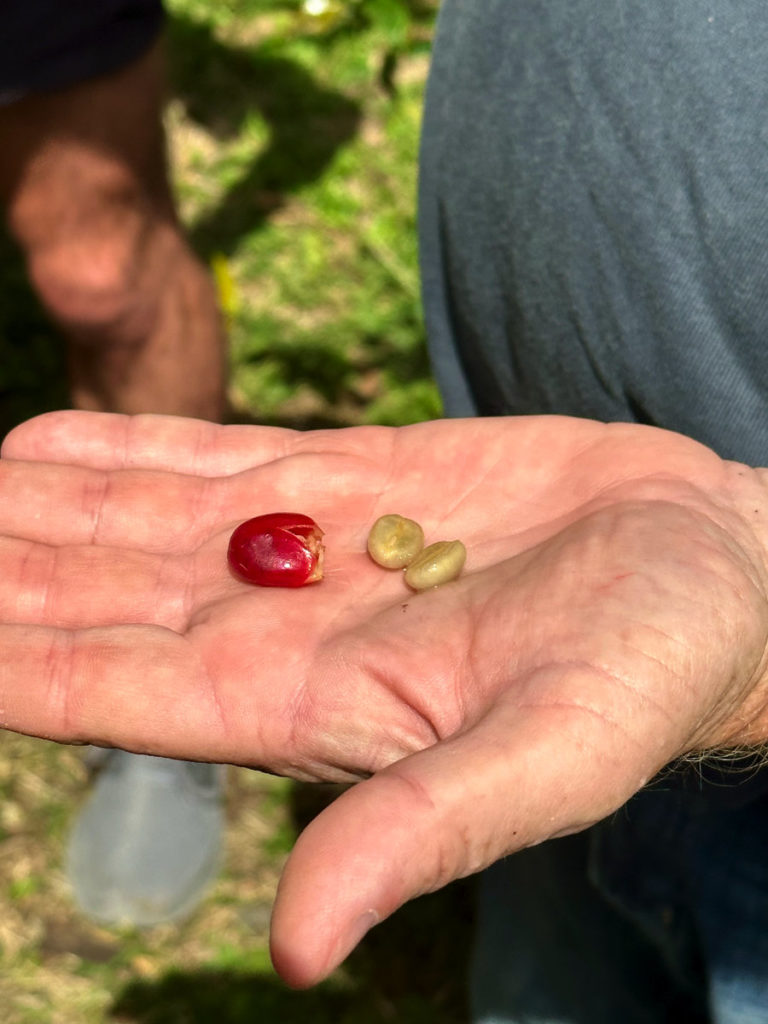
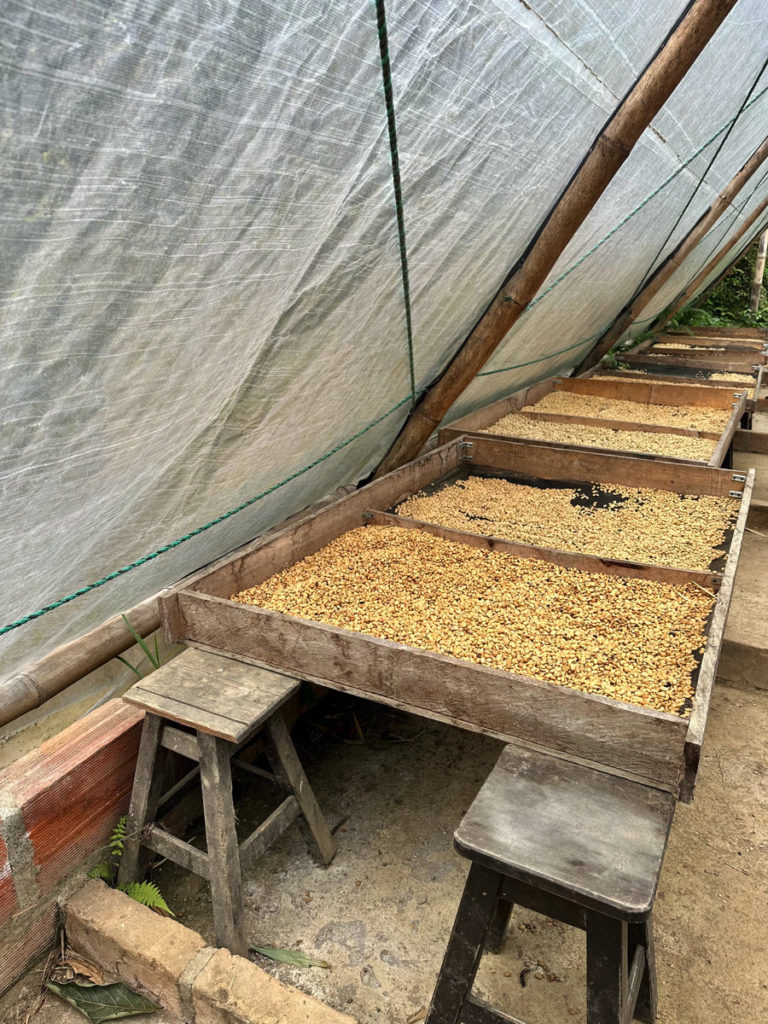
We highly recommend Don Eduardo’s which is located on the edge of town but still within walking distance! He advertised a 3-3.5-hour tour, but he actually spent almost 4.5 hours with us, walking us around his expansive coffee plantation, showing us a 100-year-old coffee plant, thoroughly explaining every step of the process, and patiently answering all of our questions. He even extended an invitation to return to his personal property for sunset paired with a breathtaking view.
He leads tours daily at 9:30 AM and 2:30 PM for 50,000 COP per person (USD 12.50). You can contact Don Eduardo, formerly known as Timothy (Tim) Edward, at +57 316 2852603 for more information.
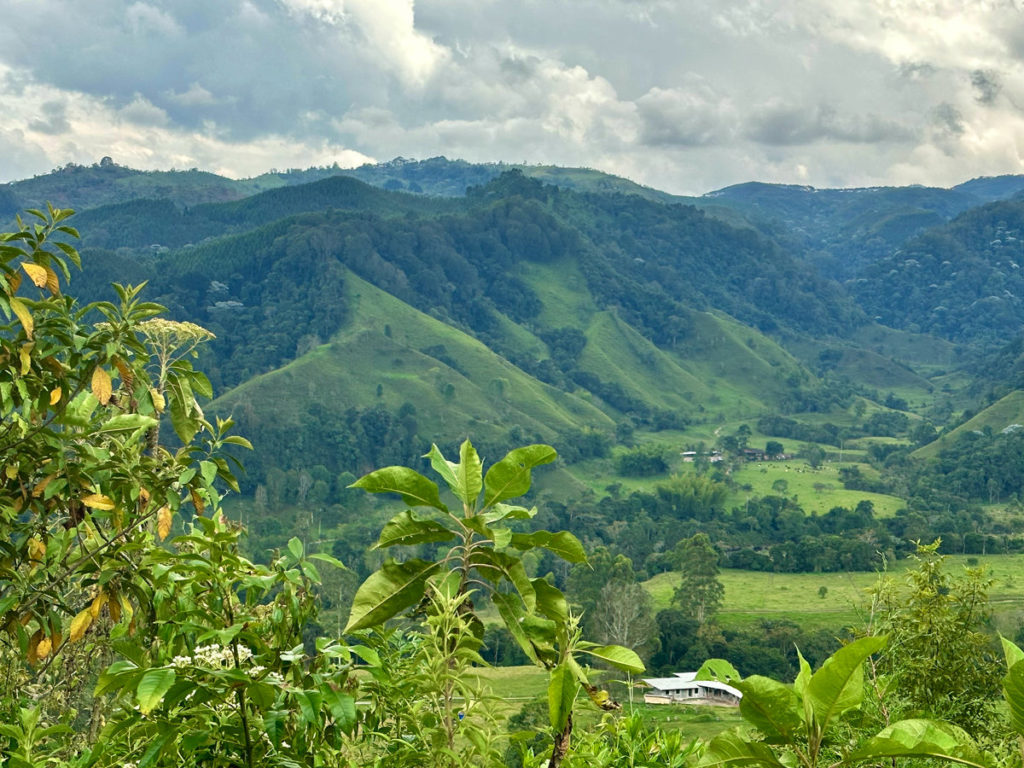
3. Climb the stairs to the Mirador de Salento viewpoint and walk the path to the Mirador Alta de la Cruz for stunning views of the city and surrounding valleys and mountains.
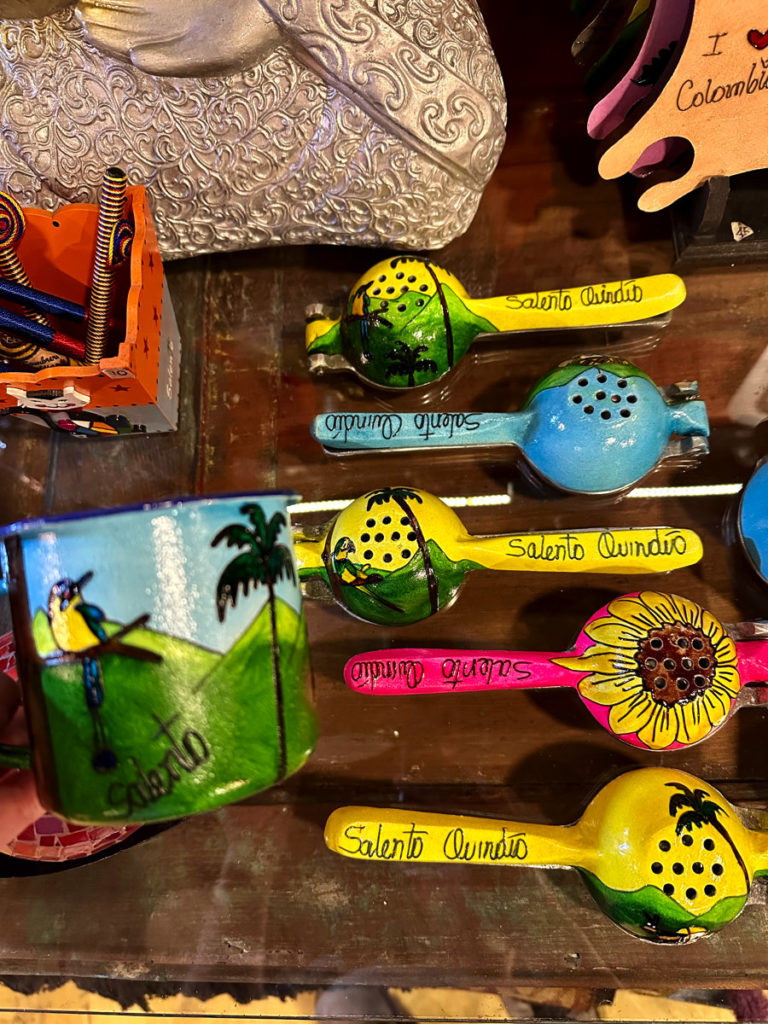
4. Go shopping. Salento is FULL of shops, some with cheap souvenirs but others with beautiful artisan-crafted items. Here are some things you’ll find when shopping in Salento:
- Hand-painted/crafted items
- Handwoven hats
- Clothing
- Unique shoes
- Jewelry
- Knick knack souvenirs

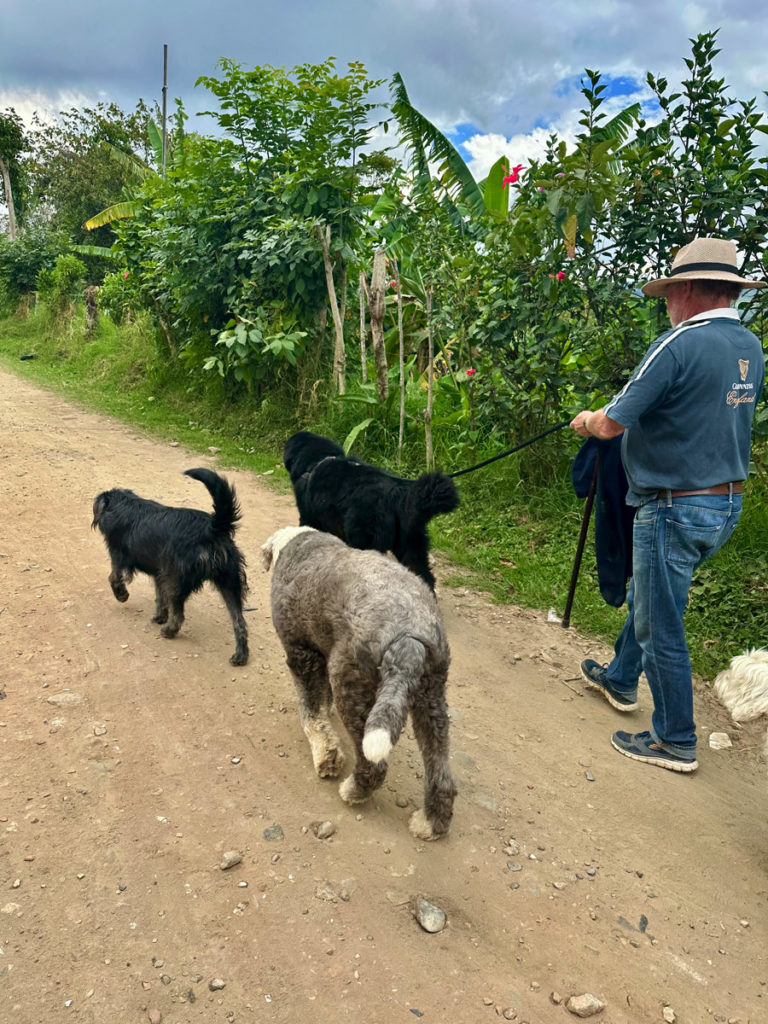
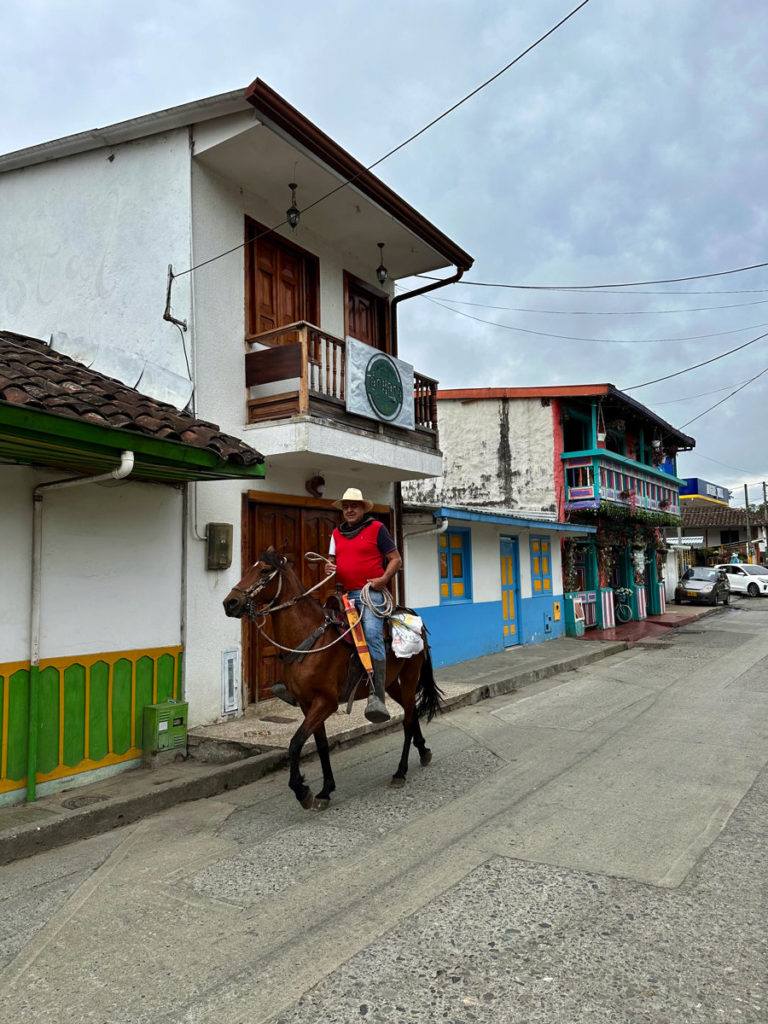
5. Slow down and enjoy the leisurely, simple life in colorful Salento.
One of my favorite things was observing the locals ride their Paso Fino “dancing” horses down the streets throughout the town of Salento. An especially entertaining sight is to see the Vaqueros ride up to a local watering hole on horseback and observe as the collection of horses grows in number. There are no formal places to tie up the horses outside of most restaurants and bars, so the Vaqueros sit Al Fresco and their horses are adjacent along the sidewalk or road, many “off leash”. It totally felt like the Wild, Wild West!
6. Mountain bike the Carbonara for another memorable wax palm experience. This is something we didn’t know about until we arrived in Salento and unfortunately didn’t have enough time.
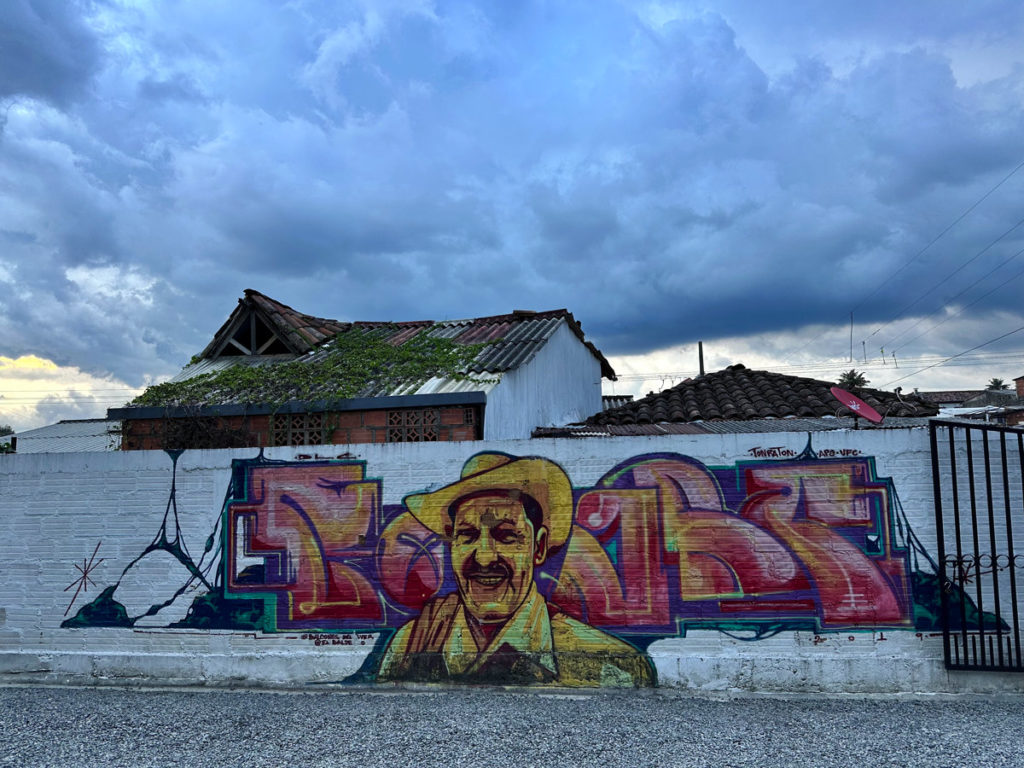
7. Go on a photography walk. The colorful buildings in Salento are charming and beg to be photographed.
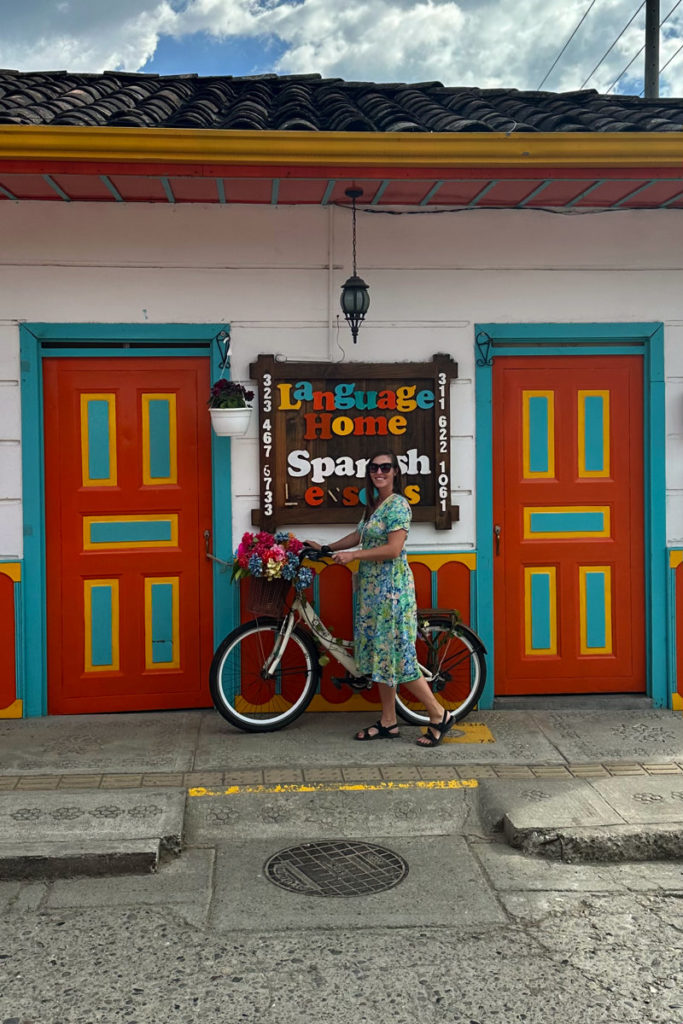
8. Get fluent in Spanish.
Book your tours in Colombia below through Get Your Guide!
Travel Tips For Bus Transportation In Colombia
- Avoid traveling by bus on a holiday weekend or the Monday after a holiday weekend.
- Know that most bus rides will take several hours or more than they’re supposed to – pack food, water, toilet paper, and hand sanitizer.
- Know that if you have a bus connection, it’s possible you may arrive in that town after the buses have stopped for the day and you may need to stay overnight and catch a connecting bus the next morning. This happened to people we met who took the bus from Bogota to Salento with a connection in Armenia. They got stuck in Armenia for the night.
- Flota Occidental P.A. from Salento to Medellin was our best bus experience. We had WiFi and personal TV screens!
- Book your bus tickets online through 12Go below to prevent getting scammed and/or being placed on a local bus (which will take much longer to get to your destination) – this happened to us twice in Northern Colombia! We finally learned our lesson and started booking solely through 12Go!
Book your bus and other travel throughout Colombia below through 12Go!
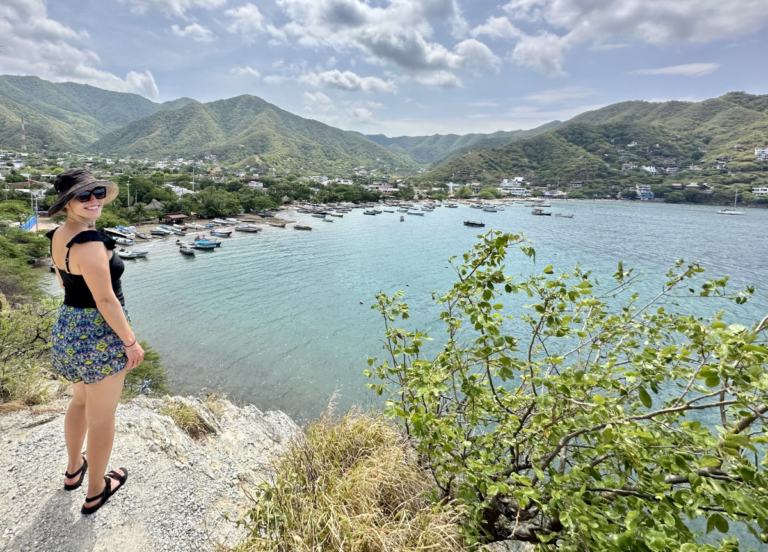
While in Colombia, be sure to visit Taganga and Tayrona National Park!
Salento Bus Terminal Facilities
Every bus terminal in Colombia is vastly different in terms of facilities, so it’s hard to know how to be prepared for a long, often stressful journey (in our experience of bus travel in Colombia). The Salento Bus Terminal had a few facilities, but they were limited, especially in their fresh food offerings.
Here’s what you can expect at the Salento Bus Terminal:
- Bathroom for 1,000 COP (25 cents) – it was clean with toilet paper, soap, and paper towels on my visit.
- Several food stalls – one with a ham, cheese, and tomato sandwich for 5,000 COP ($1.25).
- A breakfast place with eggs and arepa.
- Other stalls selling fried or packaged food.
- Recommendation: Bring a packed lunch from Betatown for your bus journey – and, throw in a brownie from Brunch. You won’t regret it!
In Summary: Is Visiting Cocora Valley Worth It?
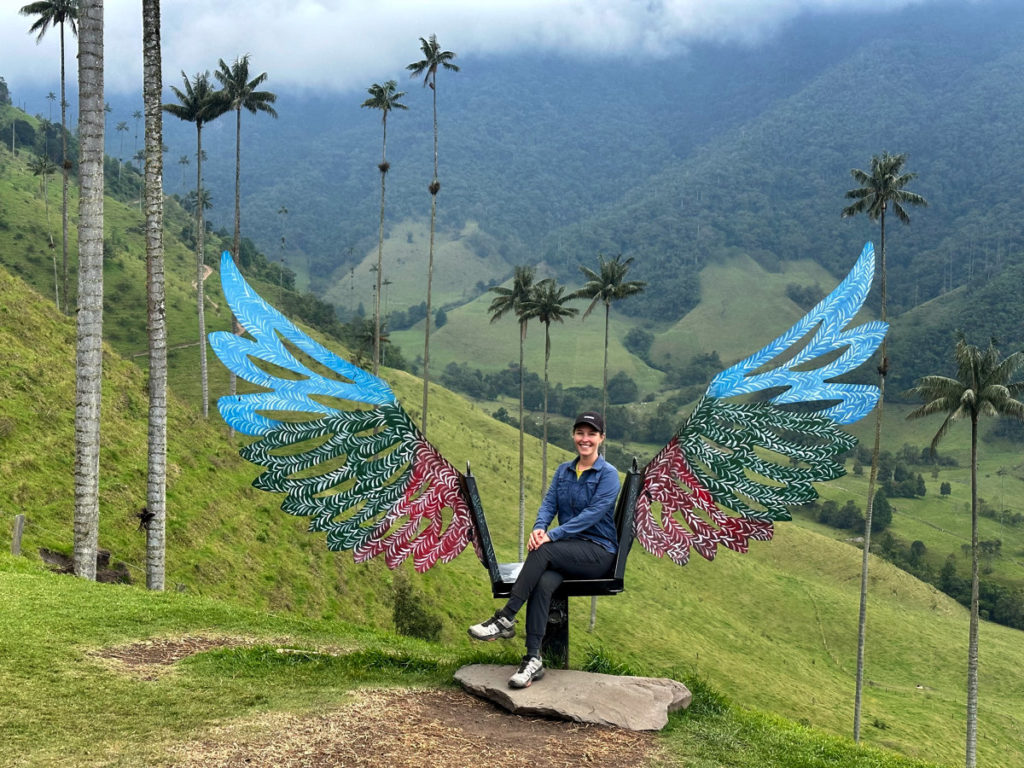
In one word, absolutely! While the selfie park is a bit gaudy and detracts from the natural beauty of the wax palms, there are many ways to photograph the towering giants in all their grandeur while avoiding the selfie structures.
Completing the counter-clockwise Cocora Valley hike allowed us to not only admire the incredible wax palms and Andean Condors flying overhead but to also further immerse ourselves in nature and enjoy a well-rounded experience of the surrounding area.
Relaxing near Finca La Montaña while gazing in awe at Cerro Morrogacho (Morrogacho Mountain) in the company of flitting hummingbirds was a huge highlight and reward after a challenging climb, with the wax palm grove shortly after offering the ultimate cherry on top!
Hiking Cocora Valley was one of our highlights from our time in Colombia and in all of South America.